Tutorial
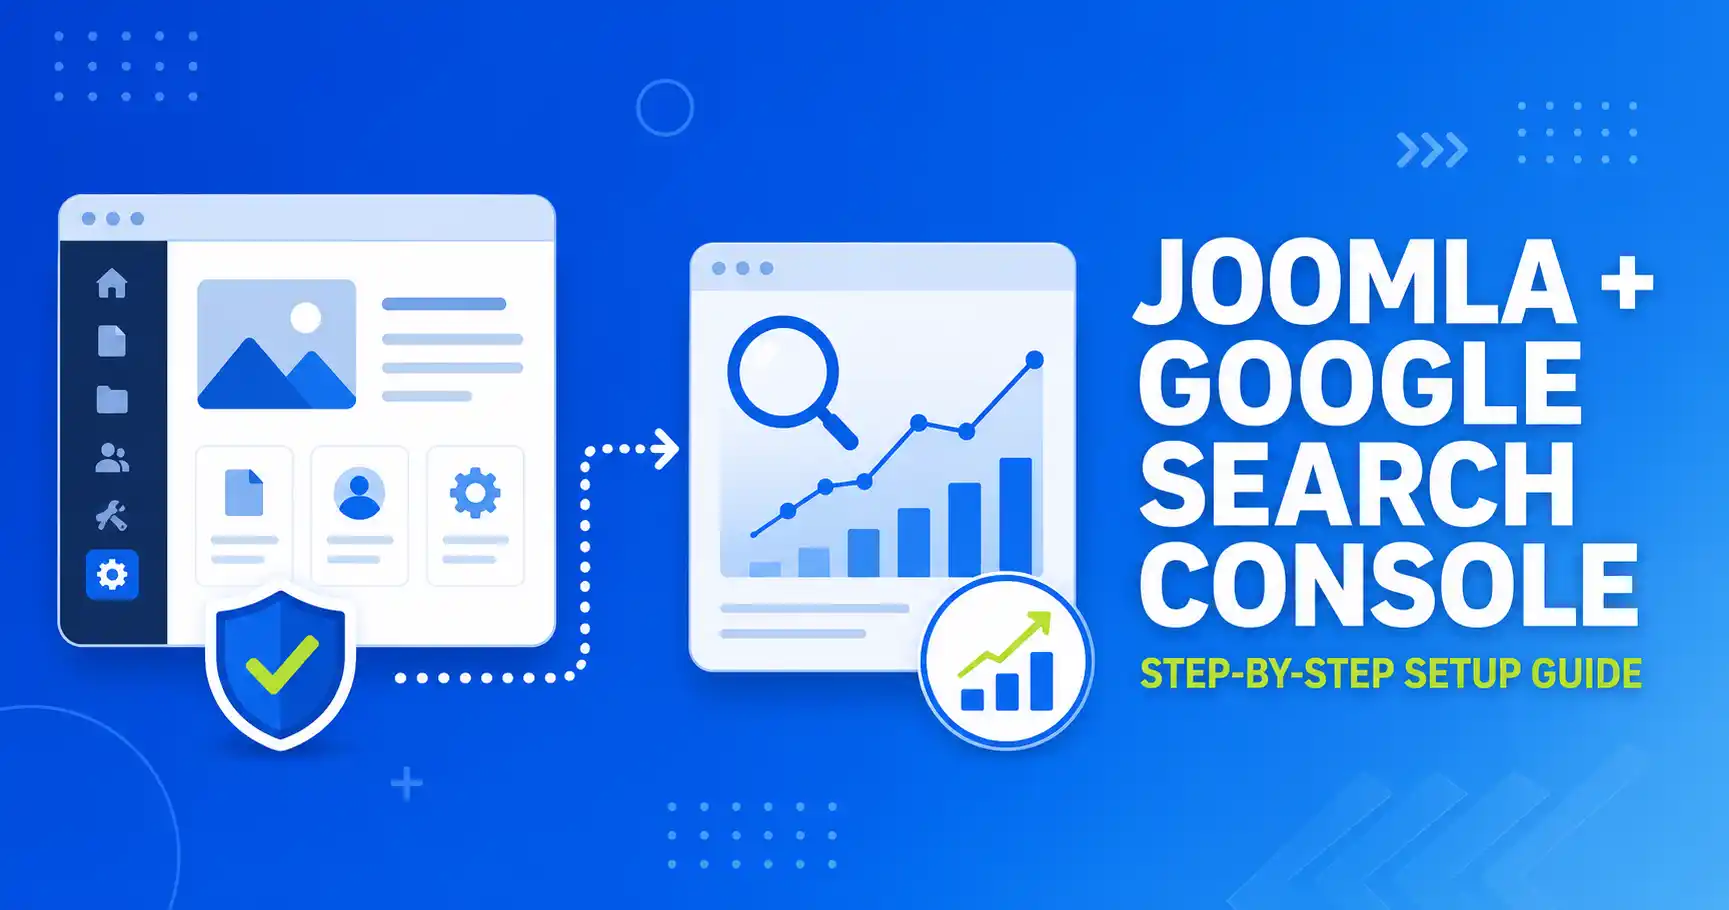
How to Connect Joomla to Google Search Console
Quick Answer
Connect Joomla to Google Search Console by adding your site as a property in Search Console, then verifying ownership with one of Google's methods — an HTML tag, an uploaded HTML file, or a DNS TXT record. For Joomla, a DNS TXT record (Domain property) is usually the safest choice because it survives template and core updates, unlike a meta tag pasted into your template's index.php.
| What you'll need | Details |
|---|---|
| Joomla admin access | Super User or a user with Global Configuration permissions |
| Google account | Any Gmail or Google Workspace account |
| Site access (one of) | FTP/file manager access, template editing access, or DNS management access at your domain registrar/host |
| Time required | 10–15 minutes for verification, plus a few days for Search Console to populate data |
This guide covers connecting a self-hosted Joomla site (5.x or 6.x) to Google Search Console, choosing the right verification method for Joomla's file structure, and submitting a sitemap — since Joomla does not generate one automatically. Steps below apply to current Joomla releases (6.1.x and the 5.4.x LTS line).
🖼️
HERO IMAGE NEEDED
Wide illustrative image: Joomla logo + Google Search Console logo connected by an arrow, or a screenshot of the Search Console dashboard for a Joomla site.
Step 1: Make sure your Joomla site is crawlable
Before adding your site to Search Console, confirm Google is actually allowed to see it.
- Go to System → Global Configuration → Site tab.
- Confirm Site Offline is set to No.
- Scroll to SEO Settings and check the Search Engine Friendly URLs option (recommended: Yes, and enable URL Rewriting if your server supports it).
- Open your site's
robots.txt(usually atyourdomain.com/robots.txt) and make sure it does not contain a blanketDisallow: /rule.
🖼️
SCREENSHOT NEEDED
Joomla admin, System → Global Configuration → Site tab, with "Site Offline" and "Search Engine Friendly URLs" fields circled in red.
⚠️ Common trap
Sites built with staging plugins often leave "Site Offline" or a maintenance-mode extension active after launch, which silently blocks Googlebot even though the site looks live to a logged-in admin.
Step 2: Add your Joomla site as a property in Google Search Console
- Go to Google Search Console and sign in with your Google account.
- Click Add property.
- Choose between two property types:
- Domain — covers all subdomains and both http/https and www/non-www versions in one property. Requires DNS access.
- URL prefix — covers exactly one URL variant (e.g. only
https://www.yourdomain.com). Offers more verification method choices, no DNS access required.
💡 Which to pick
If you can access your domain's DNS settings, choose Domain property — it's less error-prone long-term since you won't end up tracking four separate properties for one site. If you only have Joomla/FTP access and not DNS, use URL prefix.
🖼️
SCREENSHOT NEEDED
Google Search Console "Add property" dialog showing the Domain vs URL prefix choice.
Step 3: Verify ownership
Search Console gives you several verification methods. Pick the one that fits your access level.
Option A — DNS TXT record (recommended for Domain property)
- Copy the TXT record value Search Console shows you.
- Log in to your domain registrar or DNS host (Cloudflare, Namecheap, GoDaddy, etc. — not Joomla).
- Add a new TXT record at the root of your domain with the value Google provided.
- Return to Search Console and click Verify. DNS changes can take a few minutes up to 24–48 hours to propagate.
🖼️
SCREENSHOT NEEDED
DNS management panel (e.g. Cloudflare) showing a new TXT record being added with the google-site-verification value.
Option B — HTML tag (URL prefix property)
- Copy the
<meta name="google-site-verification" ...>tag Search Console gives you. - In Joomla admin, go to System → Site Templates → Styles, open your active template, then use Options → Edit Template Files (or the "Templates → Site Templates" → template name → Custom Code / index.php depending on your Joomla version) to open
index.php. - Paste the meta tag inside the
<head>section, before</head>. - Save, then click Verify in Search Console.
⚠️ Risk with this method
Editing index.php directly ties your verification to the template file. A future template or core Joomla update can overwrite that file and silently remove the tag, which then shows as "unverified" in Search Console later. If you use this method, keep a backup note of the tag and re-check it after every template update — or use Option A or C instead.
Option C — HTML file upload (URL prefix property)
- Download the verification HTML file (named like
google1234567890abcdef.html) from Search Console. - Upload it via FTP or your host's file manager to the Joomla root directory — the same folder that contains
configuration.php. - Confirm it loads by visiting
yourdomain.com/google1234567890abcdef.htmlin a browser. - Click Verify in Search Console.
Option D — Already using Google Analytics or Google Tag Manager?
If your Joomla site already has a Google Analytics (GA4) tag or Google Tag Manager container installed and the account has admin/edit access on that property, Search Console offers a one-click verification under Alternate methods using either one — no extra code needed.
Step 4: Confirm verification and set your preferred domain
Once Search Console shows the green "Ownership verified" confirmation, open Settings → Users and permissions to check who else has access, and if you verified a URL-prefix property, consider also verifying the other common variants (e.g. both https://yourdomain.com and https://www.yourdomain.com) or switching to a Domain property later to cover all of them at once.
🖼️
SCREENSHOT NEEDED
Google Search Console success screen showing "Ownership verified" confirmation.
Step 5: Generate and submit an XML sitemap
💡 Joomla-specific detail
Joomla core does not generate an XML sitemap by default, in any current version. You need a sitemap extension — a common free option is OSMap. Install it, configure which menu items and content types to include, generate the sitemap, then note its URL (typically yourdomain.com/sitemap.xml or similar depending on the extension).
- In Search Console, open Sitemaps from the left sidebar.
- Enter your sitemap URL (just the path after your domain, e.g.
sitemap.xml). - Click Submit.
🖼️
SCREENSHOT NEEDED
Google Search Console Sitemaps page with a Joomla sitemap.xml URL submitted and status "Success".
Step 6: Test indexing with URL Inspection
- Paste any live URL from your Joomla site into the URL Inspection search bar at the top of Search Console.
- Check whether it says URL is on Google or URL is not on Google.
- If it's not indexed yet, click Request Indexing — this is optional for a brand-new site and not required for every page.
🧯 Common Mistakes to Avoid
- Verifying with a template meta tag, then losing it on update. See the warning under Option B above — prefer DNS or file upload for anything long-term.
- Verifying only one URL variant. If you verify
https://yourdomain.combut your site actually redirects tohttps://www.yourdomain.com, some reports can look incomplete. Domain property verification avoids this entirely. - Forgetting the sitemap step. Verification alone does not submit your pages for crawling — the sitemap tells Google what exists and when it changed.
- Leaving "Site Offline" or a maintenance plugin on after launch. This blocks Googlebot the same way it blocks visitors.
- Blocking crawling in
robots.txtby accident, often left over from a staging environment migration.
❓ FAQ
Do I need to verify separately for Bing too?
Yes. Google Search Console and Bing Webmaster Tools are separate systems with separate verification steps — connecting one does not connect the other.
Which verification method is best for a Joomla site?
A DNS TXT record on a Domain property is generally the most durable choice, since it isn't tied to a template file that could get overwritten by an update.
Does Joomla generate a sitemap automatically?
No. Joomla core has no built-in XML sitemap generator in current versions — you need a dedicated extension, such as OSMap, to create and maintain one.
Will a Joomla update remove my Search Console verification?
It can, if you verified using an HTML meta tag pasted directly into your template's index.php. DNS TXT or HTML file upload verification is not affected by Joomla or template updates.
How long until Search Console shows data after verification?
Coverage and indexing data can appear within a few days, but full Performance report data (clicks, impressions, queries) typically takes about 2–3 days to start populating and longer to become comprehensive.
Should I choose a Domain property or URL-prefix property?
Choose Domain property if you have DNS access — it covers all subdomains and protocol/www variants in one place. Choose URL-prefix only if DNS access isn't available to you.
➡️ What's Next
[CẦN BẠN XÁC NHẬN: chèn link bài liên quan, ví dụ "How to Submit a Joomla Sitemap with OSMap" hoặc "Joomla SEO Checklist" nếu đã có bài trên site]
✅ Last verified on Joomla 6.1.2 / 5.4.7 — July 2026

Thanh Le
Joomla Specialist & Technical Writer
Thanh Le is a Joomla expert and technical writer at Jlvextension.com, known for creating in-depth tutorials, extension reviews, and optimization guides. His work focuses on helping developers and webs
How to Override a Module Layout in Joomla 6 (Update-Safe Method)
Beginner
⏱ 5 min
Joomla Security Checklist: 12 Steps to Harden Your Site in 2026
Beginner
⏱ 11 min