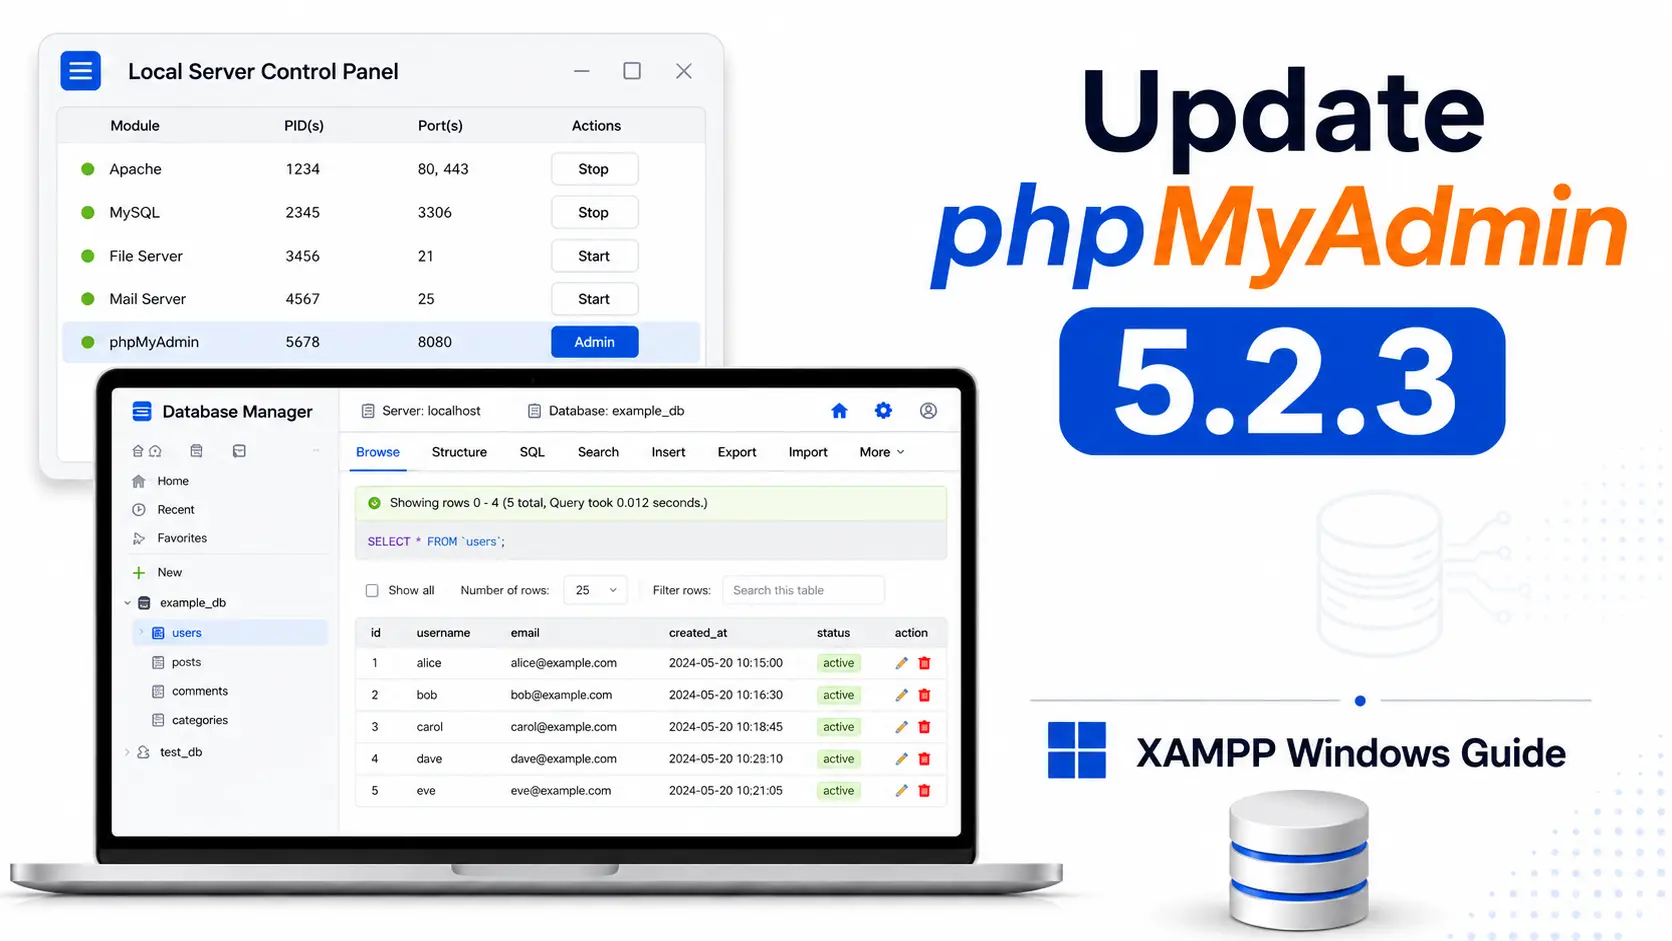
phpMyAdmin is the web-based database management tool included with XAMPP. It lets you manage MySQL or MariaDB databases directly from your browser. If your XAMPP installation includes an older phpMyAdmin version, you can manually update it to phpMyAdmin 5.2.3 on Windows without reinstalling the entire XAMPP package.
Why Update phpMyAdmin in XAMPP?
XAMPP is convenient because it bundles Apache, PHP, MariaDB, and phpMyAdmin in one package. However, the bundled phpMyAdmin version may not always be the latest available release.
Updating phpMyAdmin can help you get bug fixes, better compatibility, and a more reliable database management experience. phpMyAdmin 5.2.3 is a bugfix release, so it is a good target version if you want to keep your local development environment more up to date.
This guide focuses on updating phpMyAdmin inside XAMPP on Windows while keeping your existing databases, Apache, PHP, and MariaDB setup unchanged.
Before You Start
Updating phpMyAdmin is usually safer than updating PHP or MariaDB, because phpMyAdmin is mainly a PHP web application. Still, you should always back up your current phpMyAdmin folder before replacing it.
Back up this folder:
C:\xampp\phpMyAdminYou should also make sure your databases are backed up, especially if you plan to test import, export, or user management features after the update.
To export a database, open:
http://localhost/phpmyadminSelect your database, click Export, choose SQL format, and download the backup file.
Step 1: Check Your Current phpMyAdmin Version
First, check which phpMyAdmin version your XAMPP installation is currently using.
Start Apache and MySQL from the XAMPP Control Panel, then open:
http://localhost/phpmyadminOn the phpMyAdmin dashboard, look for the version information. You may see it on the right side of the home page or near the footer, depending on your theme and layout.
If your version is older than 5.2.3, you can continue with the update.
Step 2: Stop Apache in XAMPP
Open the XAMPP Control Panel and stop Apache before replacing the phpMyAdmin folder.
phpMyAdmin runs through Apache and PHP, so stopping Apache prevents file lock issues while you copy or rename folders.
You do not always need to stop MySQL or MariaDB for this update, but stopping it is fine if you want to avoid active database sessions during the process.
Step 3: Rename the Old phpMyAdmin Folder
Go to your XAMPP installation directory:
C:\xamppFind the existing phpMyAdmin folder:
C:\xampp\phpMyAdminRename it to:
C:\xampp\phpMyAdmin-oldThis gives you a quick rollback option if the new phpMyAdmin version does not work correctly.
Step 4: Download phpMyAdmin 5.2.3
Download phpMyAdmin 5.2.3 from the official phpMyAdmin website. The official phpMyAdmin release page lists version 5.2.3 as a bugfix release, and the phpMyAdmin downloads page provides the current downloadable packages.
For XAMPP on Windows, download the ZIP package:
phpMyAdmin-5.2.3-all-languages.zipAfter downloading, extract the ZIP file to a temporary location, for example:
C:\Users\YourName\Downloads\phpMyAdmin-5.2.3Step 5: Copy phpMyAdmin 5.2.3 into XAMPP
Copy the extracted phpMyAdmin folder into your XAMPP directory:
C:\xamppRename the copied folder to:
phpMyAdminYour new phpMyAdmin path should now be:
C:\xampp\phpMyAdminMake sure the folder contains files such as:
index.php
libraries
templates
themes
vendor
Step 6: Restore the XAMPP phpMyAdmin Configuration
Your old phpMyAdmin folder contains an important configuration file:
C:\xampp\phpMyAdmin-old\config.inc.phpCopy this file into the new phpMyAdmin folder:
C:\xampp\phpMyAdmin\config.inc.phpThis file contains settings for authentication, host, port, blowfish secret, and database connection behavior.
After copying it, open the file in a code editor and check these common settings:
$cfg['blowfish_secret'] = 'your-secret-key-here';

$i++;
$cfg['Servers'][$i]['auth_type'] = 'config';
$cfg['Servers'][$i]['host'] = '127.0.0.1';
$cfg['Servers'][$i]['user'] = 'root';
$cfg['Servers'][$i]['password'] = '';
$cfg['Servers'][$i]['extension'] = 'mysqli';
$cfg['Servers'][$i]['AllowNoPassword'] = true;
If your local database root user has a password, update the password value accordingly.
If you use a custom database port, add or update the port setting:
$cfg['Servers'][$i]['port'] = '3307';Use your actual MariaDB or MySQL port number.
Step 7: Check PHP Extension Requirements
phpMyAdmin requires PHP and several common PHP extensions. XAMPP usually includes these by default, but after updating PHP or phpMyAdmin, it is a good idea to check your configuration.
Open your PHP configuration file:
C:\xampp\php\php.iniMake sure these extensions are enabled:
extension=mysqli
extension=mbstring
extension=openssl
extension=zip
extension=curl
extension=fileinfo
extension=gd
If any line starts with a semicolon, remove the semicolon to enable the extension:
;extension=mysqlishould become:
extension=mysqliStep 8: Start Apache and Open phpMyAdmin
Open the XAMPP Control Panel and start Apache again. Also start MySQL if it is not already running.
Then open phpMyAdmin in your browser:
http://localhost/phpmyadminIf everything is configured correctly, phpMyAdmin should load normally.
Check the version number on the phpMyAdmin home page. It should show:
phpMyAdmin 5.2.3Step 9: Test Database Access
After updating phpMyAdmin, test the main features you normally use.
Try the following:
- Open an existing database.
- Browse a table.
- Run a simple SQL query.
- Export a database.
- Import a small SQL file.
- Create and drop a test table.
You can run this simple SQL query to confirm the database connection:
SELECT VERSION();This will show the current MySQL or MariaDB server version used by XAMPP.
Common Problems After Updating phpMyAdmin
phpMyAdmin Shows a Blank Page
A blank page usually means there is a PHP error. Check the Apache error log:
C:\xampp\apache\logs\error.log
Also check that your PHP version is compatible and that required extensions are enabled in
php.ini.
Cannot Connect: Invalid Settings
If phpMyAdmin shows a connection error, open:
C:\xampp\phpMyAdmin\config.inc.phpCheck these settings:
$cfg['Servers'][$i]['host']
$cfg['Servers'][$i]['port']
$cfg['Servers'][$i]['user']
$cfg['Servers'][$i]['password']
$cfg['Servers'][$i]['auth_type']
Make sure they match your XAMPP MariaDB or MySQL setup.
Access Denied for User Root
If you see an access denied error, your root password may be different from the value in
config.inc.php.
For many default XAMPP installations, the local database login is:
Username: root
Password: empty
But if you previously set a root password, update the configuration file with the correct value.
The mysqli Extension Is Missing
If phpMyAdmin says the mysqli extension is missing, open:
C:\xampp\php\php.iniEnable:
extension=mysqliThen restart Apache.
The Blowfish Secret Is Too Short
If phpMyAdmin warns about the blowfish secret, open:
C:\xampp\phpMyAdmin\config.inc.phpSet a longer random string:
$cfg['blowfish_secret'] = 'a-long-random-secret-key-for-local-xampp';This value is used for cookie authentication encryption. Even for local development, it should not be empty.
Rollback Plan
If phpMyAdmin 5.2.3 does not work correctly, you can restore your old version.
First, stop Apache from the XAMPP Control Panel.
Rename the new folder:
C:\xampp\phpMyAdminto:
C:\xampp\phpMyAdmin-newThen rename your old backup folder:
C:\xampp\phpMyAdmin-oldback to:
C:\xampp\phpMyAdminStart Apache again and open:
http://localhost/phpmyadminYour previous phpMyAdmin version should be restored.
Should You Update phpMyAdmin in XAMPP?
Updating phpMyAdmin is usually a good idea if you want a more current local development tool. Unlike database server upgrades, this update does not directly change your database engine or data files.
You should update phpMyAdmin if:
- Your current phpMyAdmin version is outdated.
- You recently upgraded PHP in XAMPP.
- You recently upgraded MariaDB or MySQL in XAMPP.
- You want bug fixes from phpMyAdmin 5.2.3.
- You want better compatibility with your current local stack.
You may want to wait if:
- Your current XAMPP setup is working perfectly.
- You do not have a backup of your old phpMyAdmin folder.
- You use custom phpMyAdmin themes or plugins.
- You are not sure which PHP version your XAMPP installation uses.
Final Thoughts
Updating phpMyAdmin to version 5.2.3 in XAMPP on Windows is a straightforward process if you back
up the old folder first. In most cases, you only need to rename the old phpMyAdmin directory,
copy the new version into XAMPP, restore config.inc.php, and restart Apache.
After the update, always test login, database browsing, SQL queries, import, and export features. This helps confirm that phpMyAdmin is working correctly with your current PHP and MariaDB or MySQL setup.
If anything goes wrong, the rollback process is simple: stop Apache, restore the old
phpMyAdmin folder, and start Apache again.