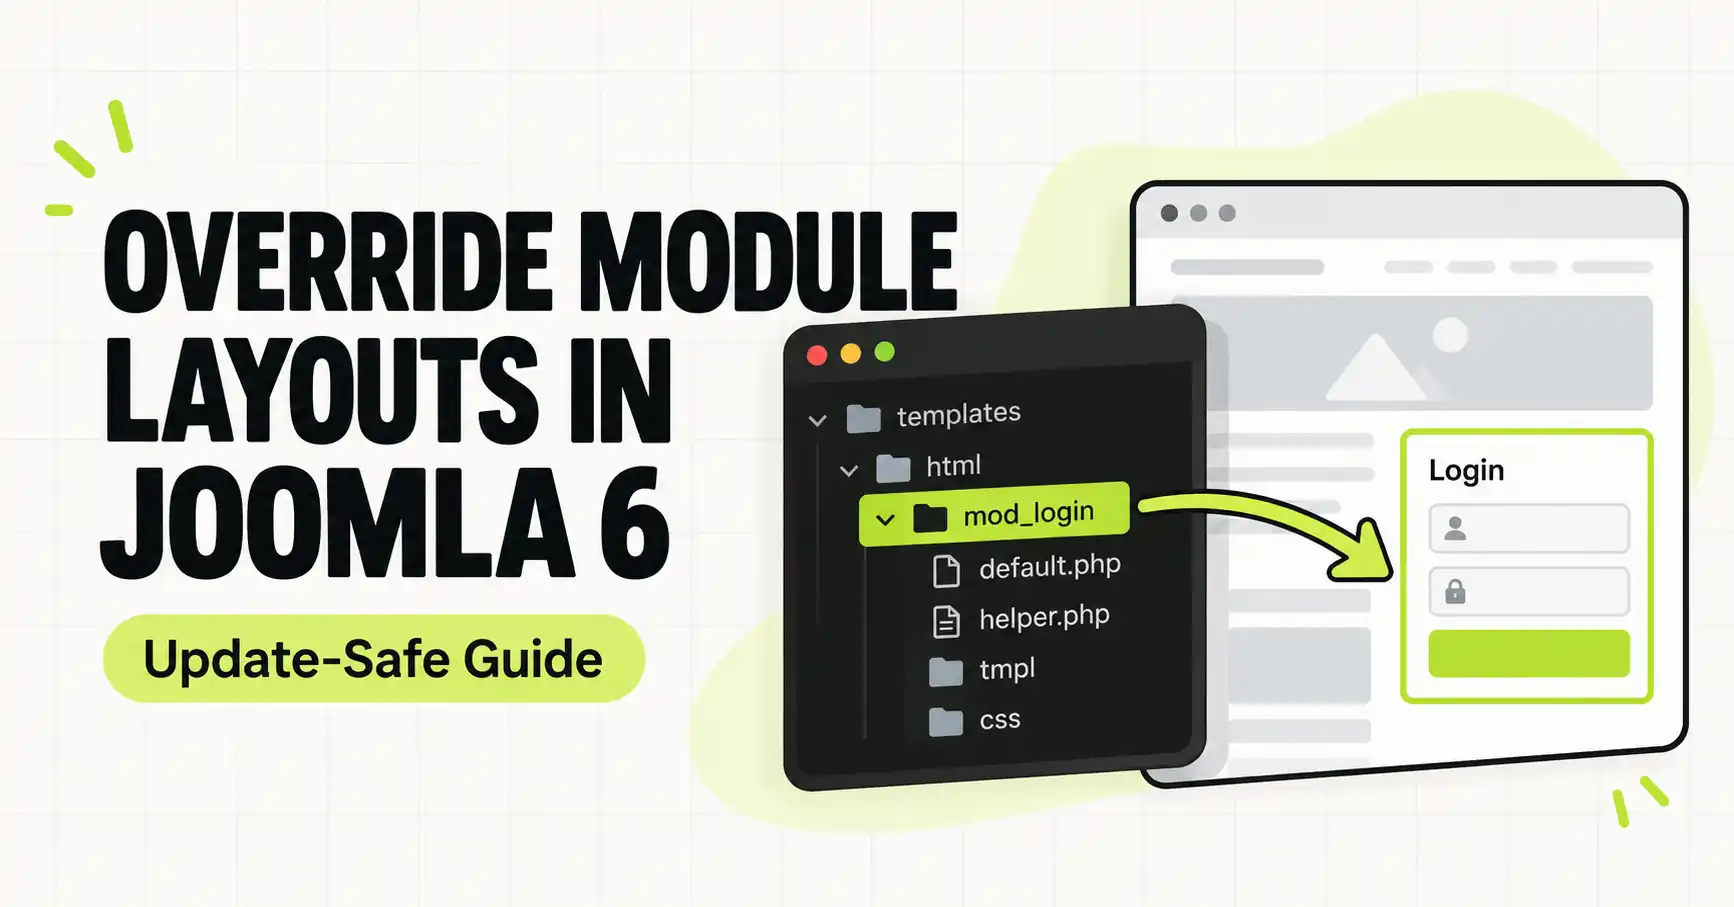
How to Override a Module Layout in Joomla 6 (Update-Safe Method)
Beginner
⏱ 5 min
Quick Answer
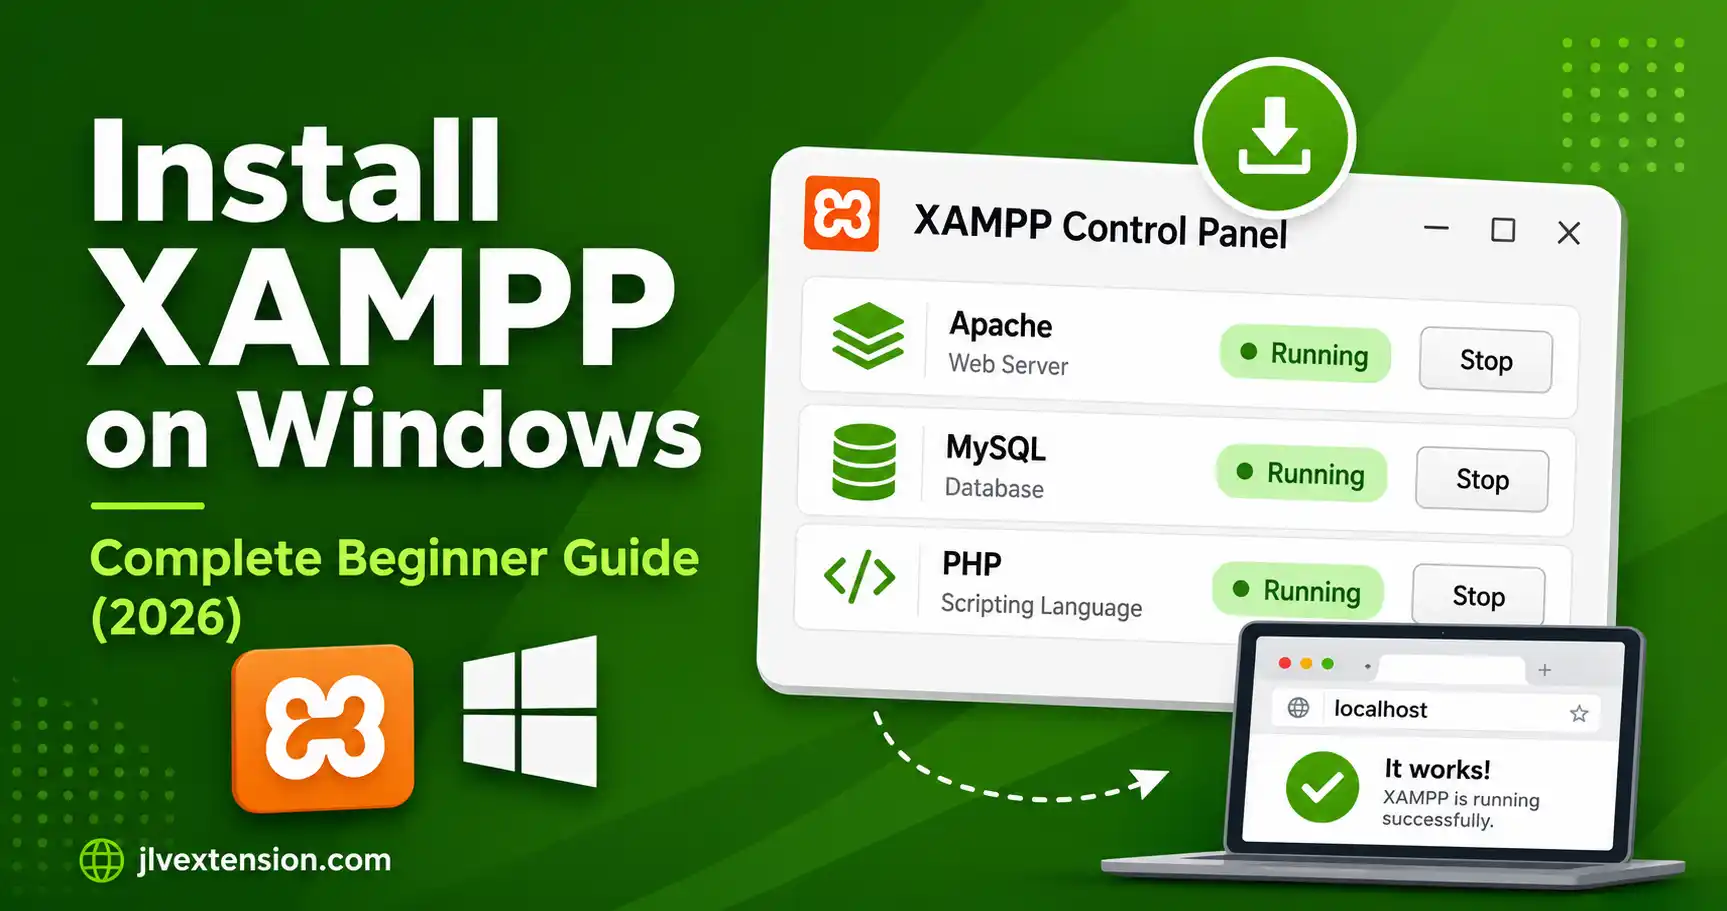
Download the Windows installer from the official apachefriends.org download page, right-click it and choose "Run as administrator," keep the default install path (C:\xampp) and default components, then open the XAMPP Control Panel and click Start next to Apache and MySQL. Visit http://localhost in your browser — if the XAMPP welcome page loads, your local server is working.
| What you'll need | Details |
|---|---|
| Operating system | Windows 10 or 11 (64-bit recommended) |
| Free disk space | At least 1 GB (installer is roughly 150 MB; the extracted install takes more) |
| Account access | An account with Administrator rights on the PC |
| Antivirus | Temporarily pause real-time scanning, or add an exclusion, during install |
| Time needed | About 15–20 minutes |
This guide walks you through installing XAMPP on Windows from scratch — downloading the correct installer, getting past the two most common beginner blockers (port conflicts and antivirus warnings), and confirming Apache, MySQL, and PHP are actually working before you start building anything on top of it. It's written for the current official Windows release of XAMPP (PHP 8.2.12 branch, with 8.1.25 and 8.0.30 also available), so screenshots and file names below assume that build.
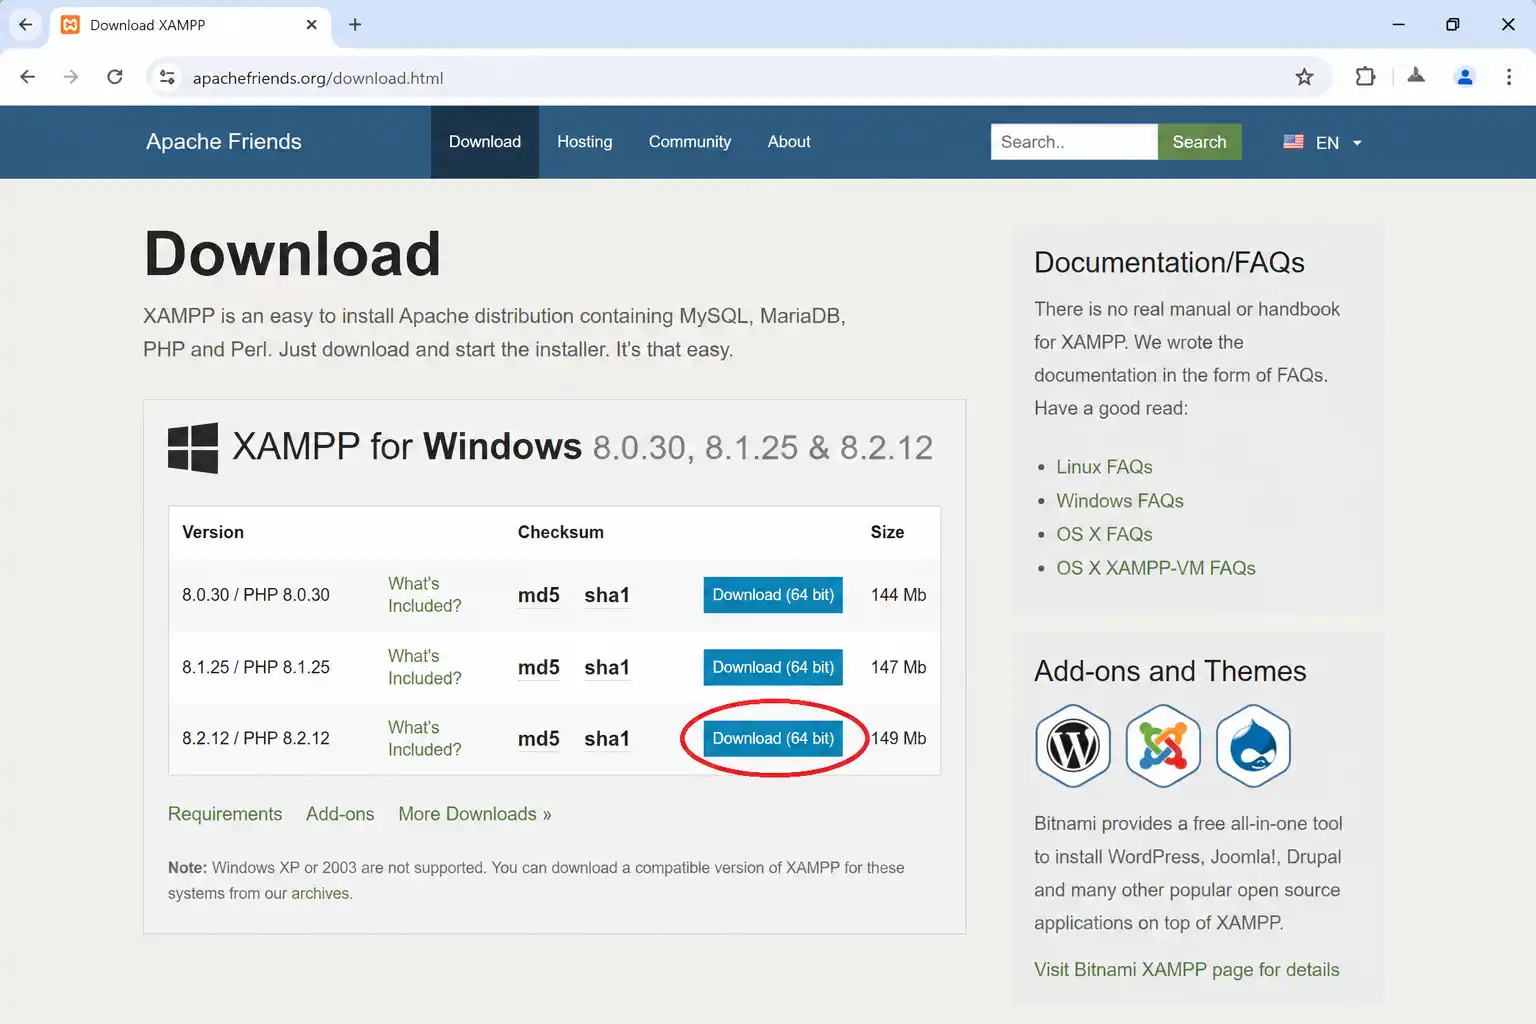
Go to the official Apache Friends download page and choose a Windows build. As of this writing, the current Windows installers ship PHP 8.2.12, 8.1.25, or 8.0.30 — pick 8.2.12 unless a specific project requires an older PHP version. Each build bundles the same core stack: Apache, MariaDB, phpMyAdmin, and the XAMPP Control Panel, just with a different PHP version underneath.
Only download from apachefriends.org (or its official SourceForge mirror). Third-party download sites sometimes bundle extra installers or ads alongside the real file.
Before running the installer, close Skype and any local web server (IIS, WAMP, another XAMPP instance) if they're open — both Skype and Windows IIS default to port 80, the same port Apache needs. It's also worth briefly pausing real-time antivirus scanning: XAMPP installs server binaries and admin tools, which some antivirus engines flag as "potentially unwanted" even though the official installer contains no malware. You can re-enable your antivirus as soon as setup finishes.
Right-click the downloaded .exe file and choose "Run as administrator" rather than double-clicking it. XAMPP needs to bind to system ports and write to protected folders, and skipping this step is one of the most common reasons Apache or MySQL fail to start later. If Windows shows a User Account Control (UAC) prompt, click Yes.
Why this matters
Installing without admin rights often lets the installer finish "successfully" but leaves Apache or MySQL unable to start a service afterward — a confusing failure that looks unrelated to the real cause.
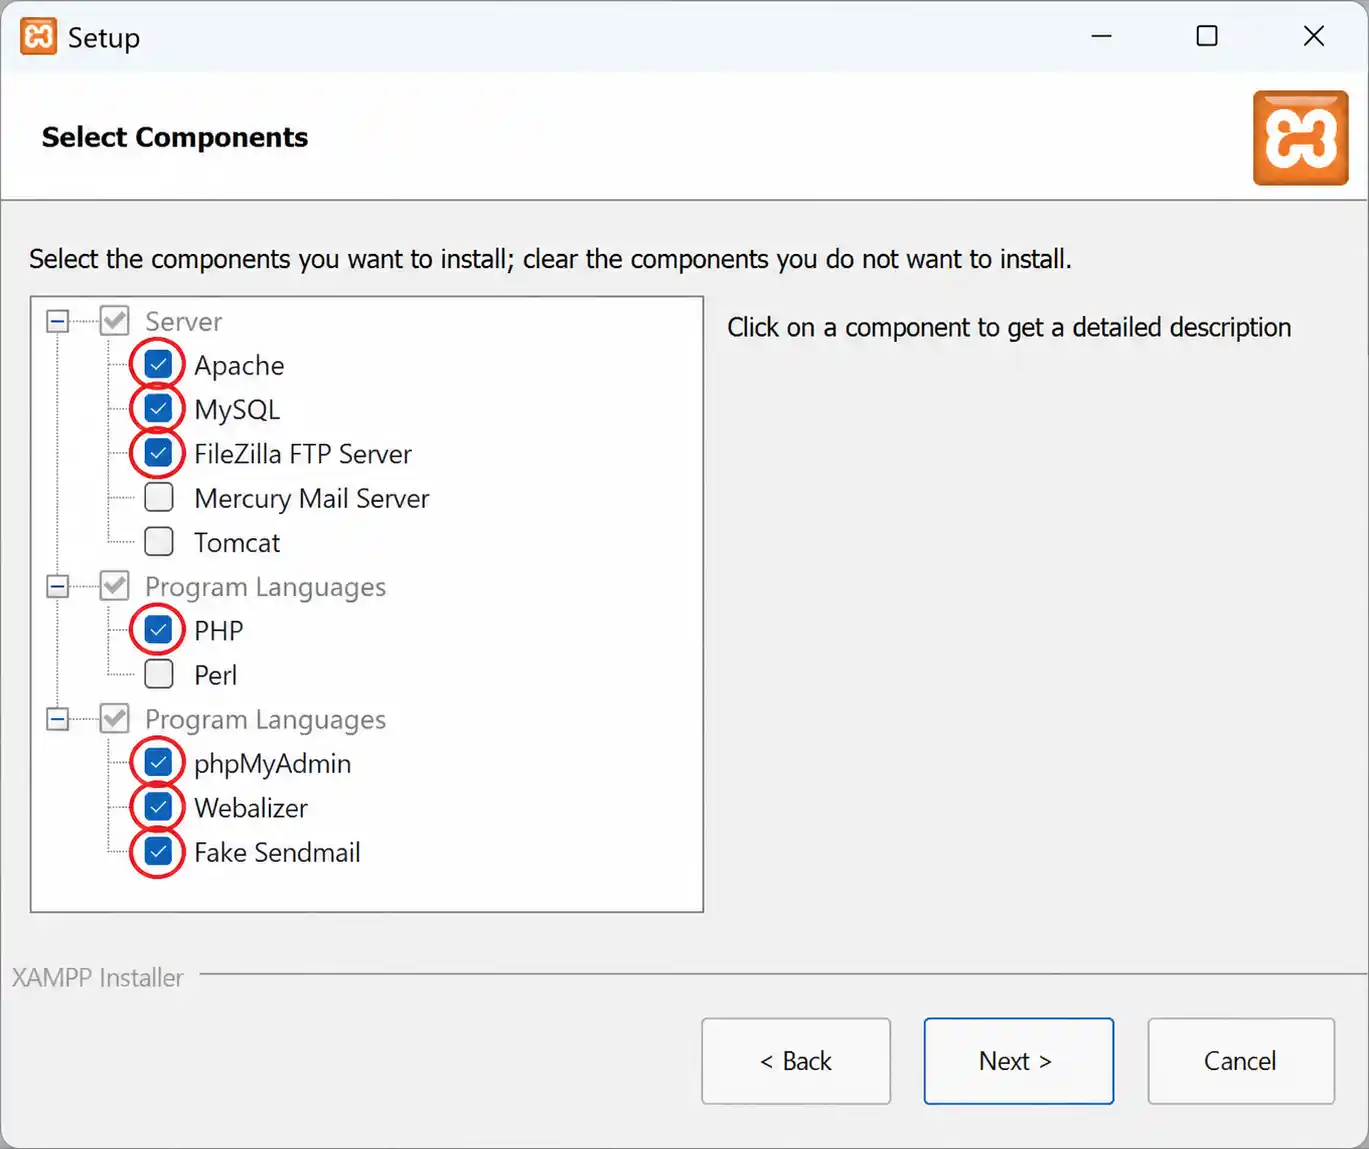
The Setup Wizard lets you check or uncheck individual components. For a standard local development environment, keep Apache, MySQL (labeled MariaDB under the hood), PHP, and phpMyAdmin checked. You can safely uncheck components you don't need, such as FileZilla FTP Server, Mercury Mail, Tomcat, or Perl, to save disk space and reduce background services — you can always re-run the installer later to add them.
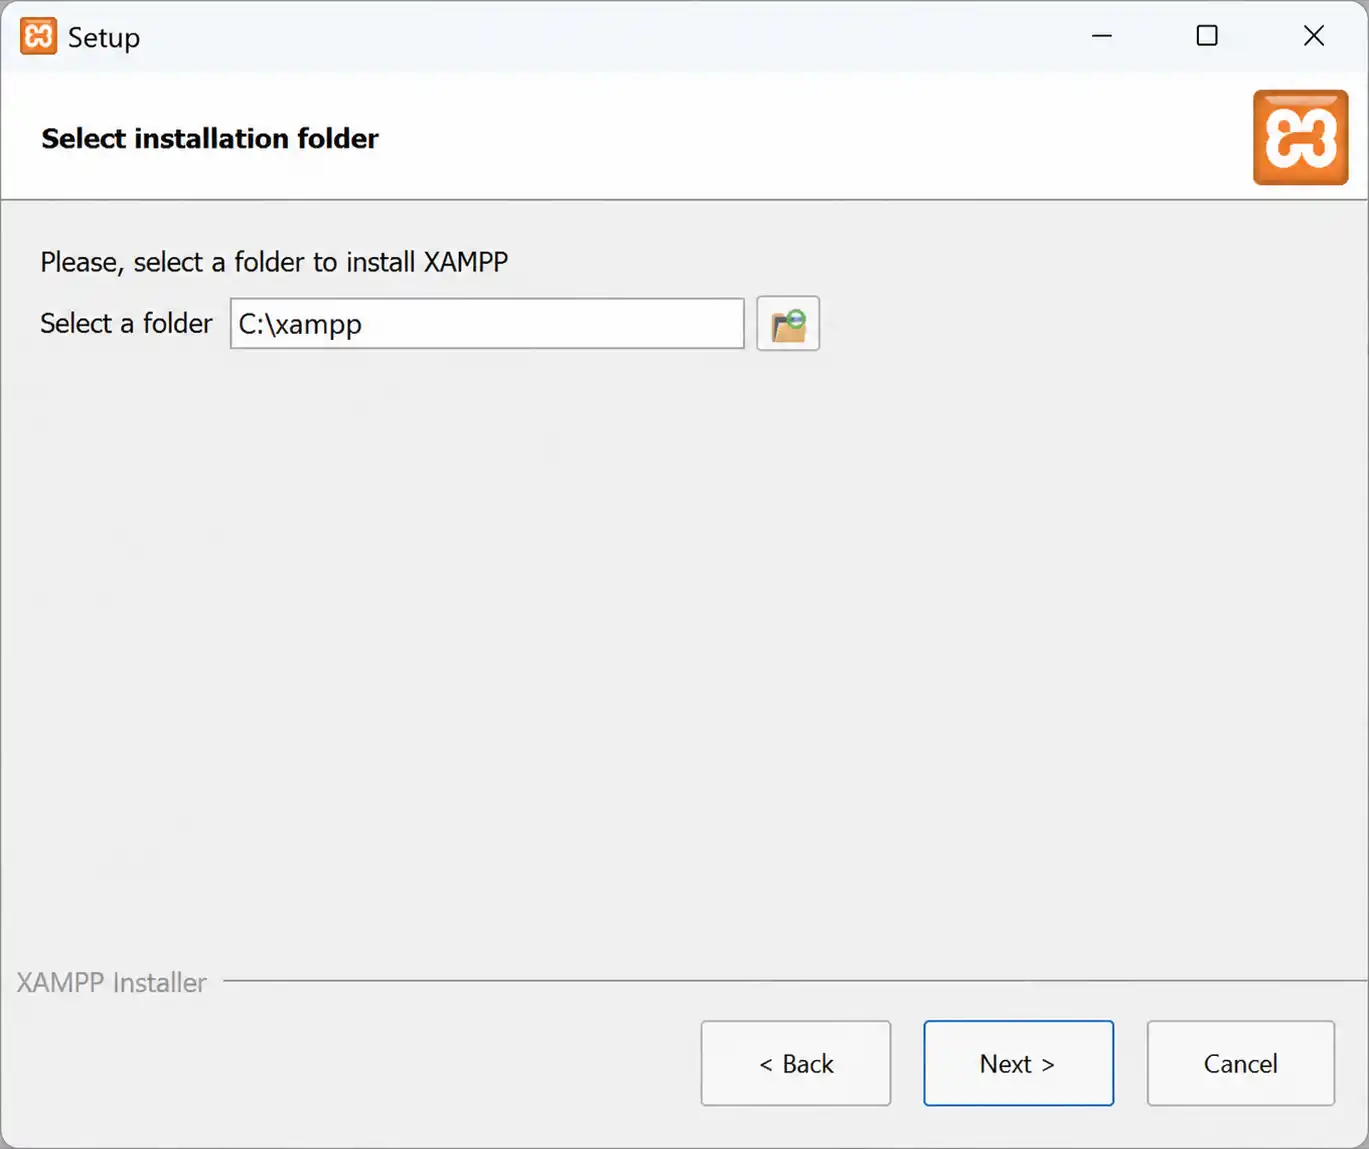
When the wizard asks for an install location, keep the default C:\xampp. Avoid installing into C:\Program Files — Windows applies stricter write permissions there, and Apache or MySQL can fail to create log files or write to their data folders even when you ran the installer as Administrator.
Near the end of installation you may see a screen promoting Bitnami for installing WordPress or other apps. This is optional — uncheck it (or close the browser tab it opens) if you only want the base Apache/MySQL/PHP stack. Click Finish, and check the box to launch the XAMPP Control Panel immediately.
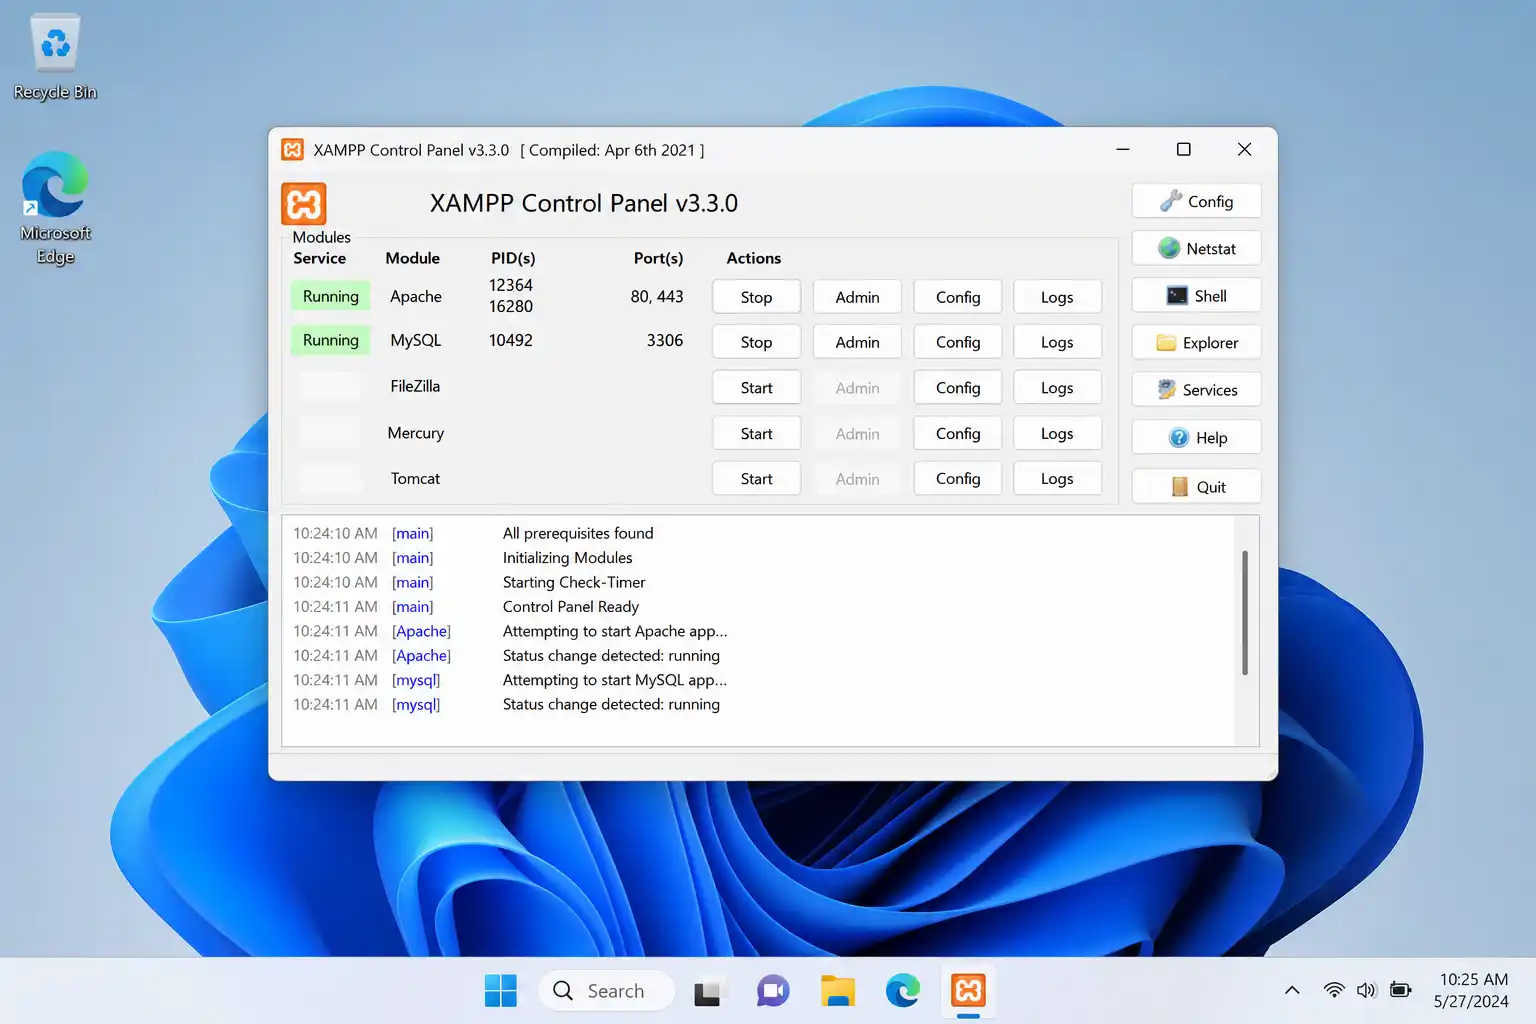
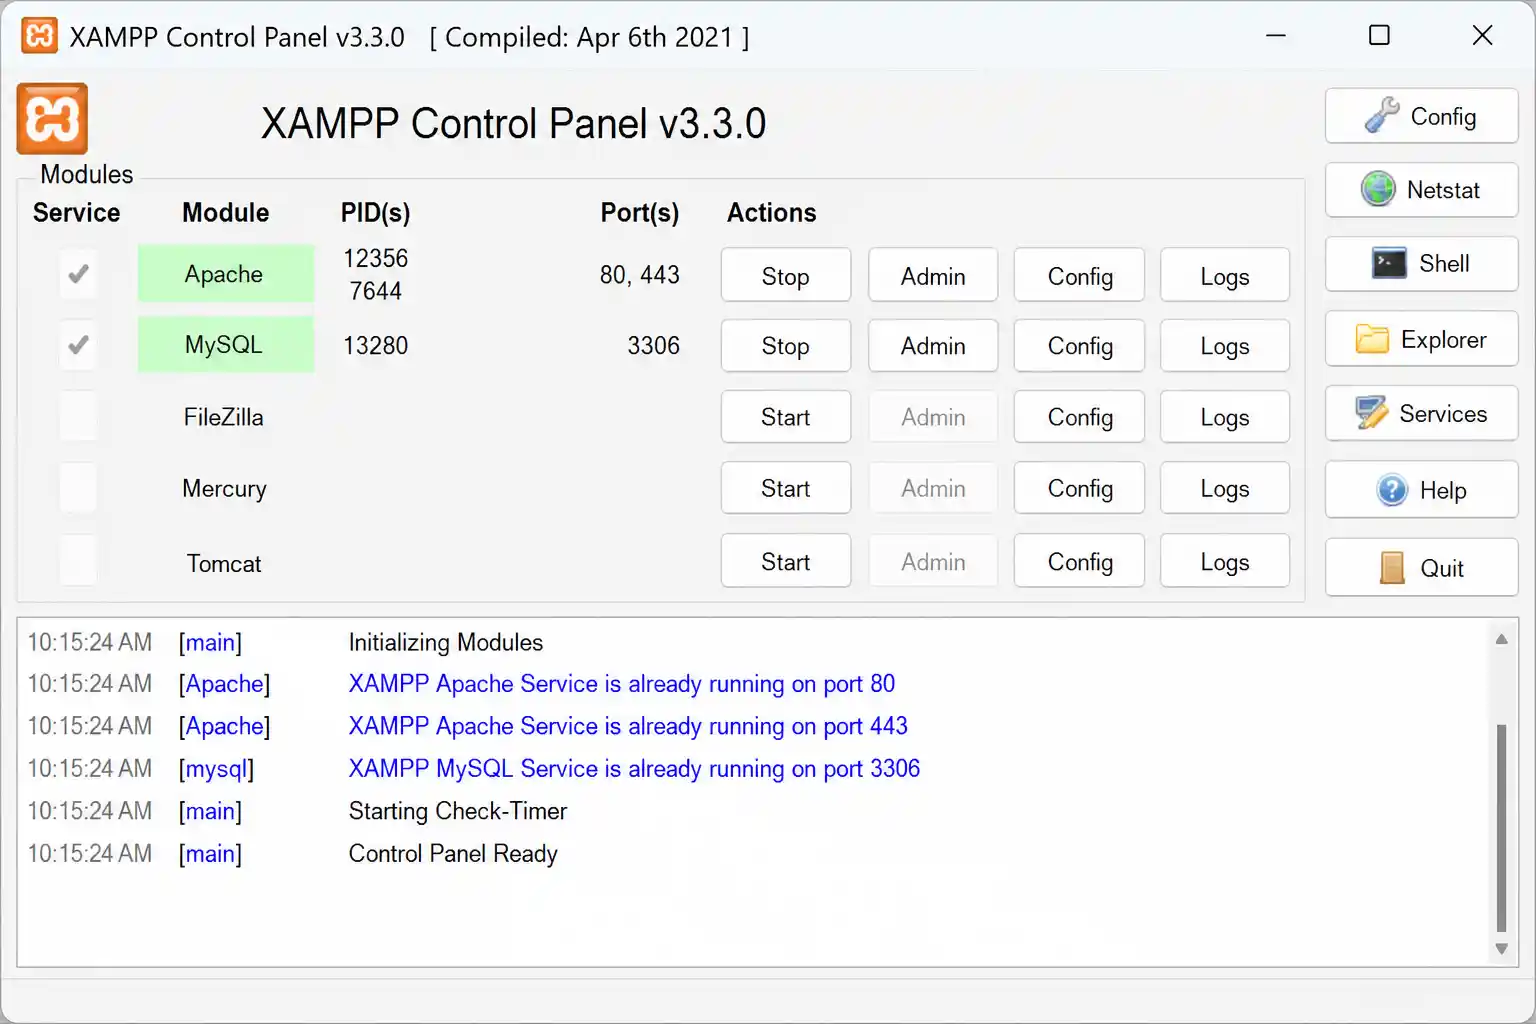
In the Control Panel, click Start next to Apache and then next to MySQL. Both rows should turn green and show a process ID (PID) and port number within a few seconds. If a row stays red or shows an error in the log panel at the bottom, see the troubleshooting note below before continuing.
Apache won't start?
The most common cause is another program already using port 80 or 443 — usually Skype, Windows IIS, or a VPN client. Close the conflicting app, or open Config → Apache (httpd.conf) in the Control Panel and change Listen 80 to Listen 8080 (and the matching ServerName line) to run Apache on a different port instead.
Open any browser and go to http://localhost (or http://localhost:8080 if you changed the port in Step 7). You should see the XAMPP welcome/dashboard page. This confirms Apache is serving pages correctly.
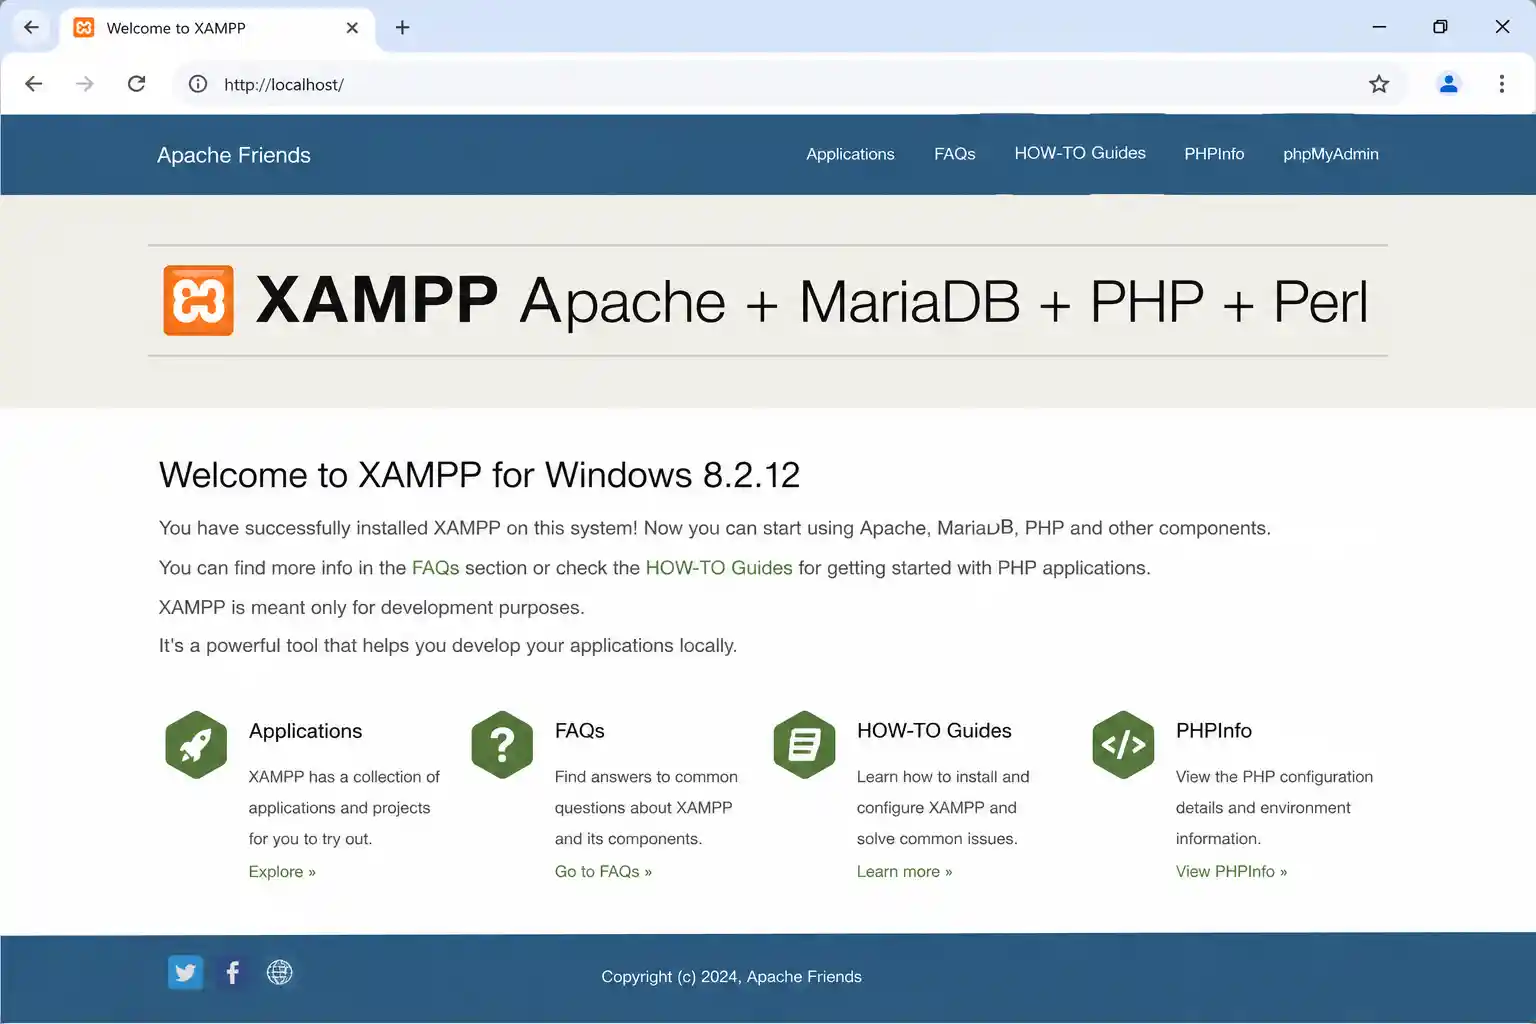
XAMPP serves files from the htdocs folder inside your install directory (by default C:\xampp\htdocs) — files placed anywhere else won't load through localhost. Create a new file there named info.php containing:
<?php
phpinfo();
?>
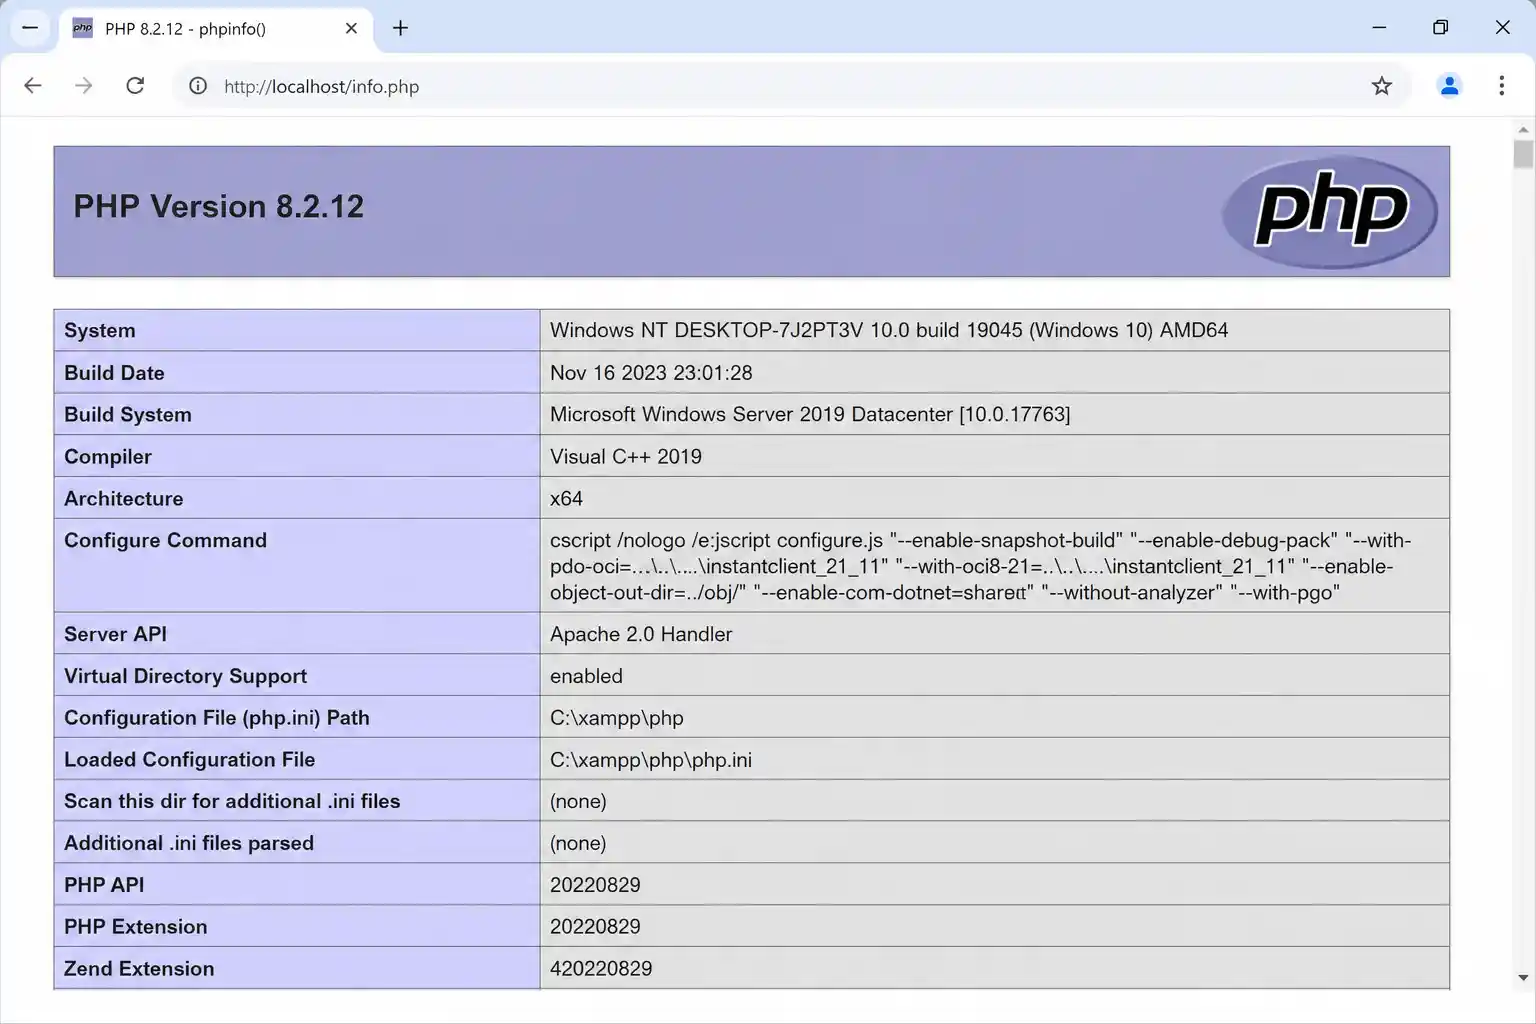
Then open http://localhost/info.php in your browser. A page listing your PHP version and configuration details confirms PHP is running correctly through Apache.
By default, the MySQL/MariaDB root account that phpMyAdmin uses has no password, which is fine for an isolated local machine but worth locking down if your PC is shared or on a network. Open http://localhost/phpmyadmin, go to the User accounts tab, edit the root user, and set a password — then update C:\xampp\phpMyAdmin\config.inc.php with the same password so phpMyAdmin can still log in.
C:\xampp — Windows' stricter permissions there can block Apache and MySQL from writing logs.C:\xampp\htdocs won't load through localhost.Yes. XAMPP is free, open-source software distributed by Apache Friends under the GNU General Public License, for both personal and local development use.
The current Windows release bundles Apache, MariaDB, PHP, and phpMyAdmin as the core stack, plus optional extras like FileZilla FTP Server, Mercury Mail, and Tomcat that you can include or skip during setup.
The most common cause is another program already using port 80 or 443 — usually Skype, Windows IIS, or a VPN. Closing the conflicting app or changing Apache's port in httpd.conf almost always fixes it.
Some antivirus tools flag XAMPP components as "potentially unwanted" because the package installs server software and admin tools. This is typically a false positive — just make sure you downloaded it from the official apachefriends.org site.
The standard installer needs admin rights to bind system ports and write to protected folders. A portable ZIP build exists for cases without admin access, but most beginners should just run the installer as Administrator.
No. XAMPP's default setup is optimized for local development and testing convenience, not production-grade security, so it isn't recommended for public-facing hosting.
✅ Last verified on XAMPP for Windows (PHP 8.2.12 build) — August 2026

Thanh Le is a Joomla expert and technical writer at Jlvextension.com, known for creating in-depth tutorials, extension reviews, and optimization guides. His work focuses on helping developers and webs