Tutorial
Understanding Joomla 6 Access Control Levels (ACL): The Complete Guide for Admins
Affiliate disclosure This article may contain affiliate links to MonsterONE and Envato Market. If you purchase through these links, JLV Blog may earn a commission at no extra cost to you.
Quick Answer
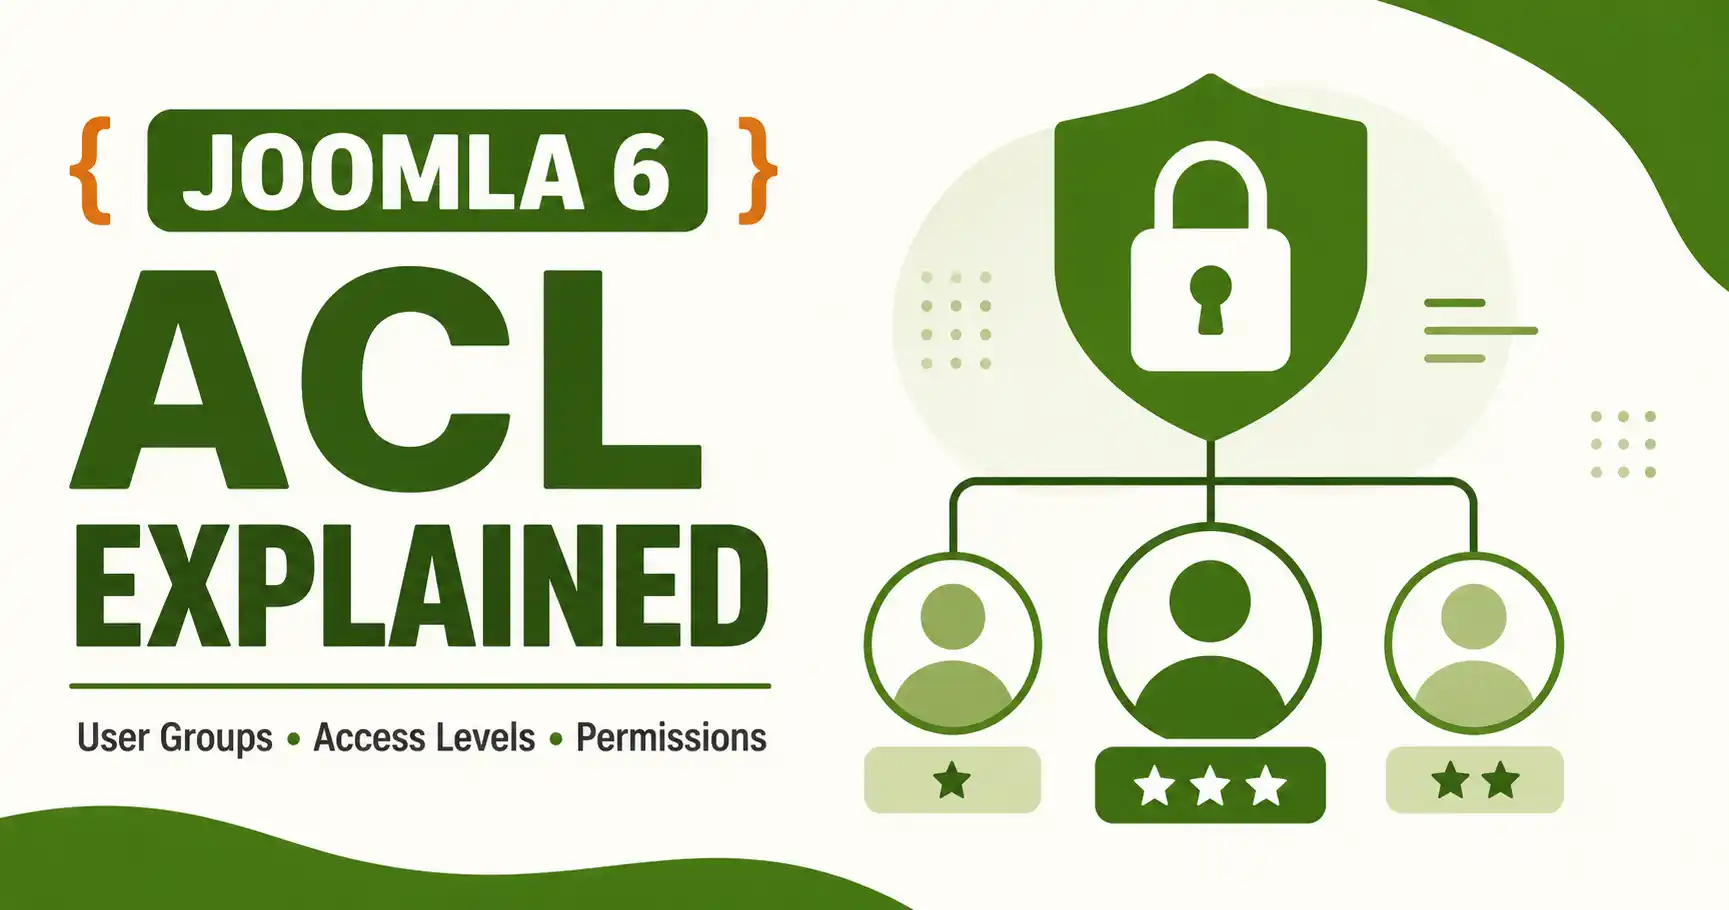
Joomla 6's ACL (Access Control List) works on three layers: User Groups (who a user is), Access Levels (what content a group can view), and Permissions (what actions a group can perform). Joomla ships with 9 default user groups and 5 default access levels, and permissions cascade from Global Configuration down to component, category, and individual item — with Denied permissions always winning over lower-level Allow settings.
| What you'll need | Detail |
|---|---|
| Joomla version | Joomla 6.1.x (the ACL screens and logic described here are unchanged from Joomla 4/5, so the steps also apply if you're still on those versions) |
| Access level | Super User login to the Joomla administrator |
| Test accounts | At least one test user per group you plan to verify (never test permission changes on your own Super User account only) |
| Time needed | About 15–20 minutes for a first pass |
Joomla's ACL system is one of the reasons it's still picked for sites with multiple content editors, membership areas, or client backends that need tightly scoped access. This guide covers how User Groups, Access Levels, and Permissions actually relate to each other in Joomla 6.1, how inheritance works, and how to set up common real-world scenarios — like giving one editor control of a single category — without accidentally locking yourself out.
🖼️
[ẢNH CẦN CHỤP: Hero image]
Overview graphic or screenshot showing the Joomla 6 admin Users menu expanded, with "Access Levels" and "Groups" items visible.
What Is ACL in Joomla 6?
ACL stands for Access Control List. In Joomla, it's split into two separate systems that are easy to confuse:
- Access — controls what a user can view. This is handled by User Groups and Access Levels.
- Permissions — controls what a user can do (create, edit, delete, publish, log into the backend, and so on). This is handled by Action Permissions, set in Global Configuration, component options, category settings, or on individual items.
These two systems work together but are configured in different screens, which is the single most common source of confusion for anyone new to Joomla ACL.
What Are the Default User Groups in Joomla 6?
Joomla installs with nine default user groups, arranged in a parent-child hierarchy so that permissions set on a parent group are inherited by its children unless explicitly overridden.
| Group | Typical role | Can do, by default |
|---|---|---|
| Public | Anonymous site visitor | View content marked Public only; no login |
| Guest | Not-yet-logged-in visitor (special system group) | Same as Public; used mainly for menu/module targeting of non-logged-in users |
| Registered | Logged-in site member | View Registered-level content; no content creation rights by default |
| Author | Contributor | Create articles and edit only their own articles; cannot publish |
| Editor | Content editor | Everything Author can do, plus edit articles created by other users |
| Publisher | Senior editor | Everything Editor can do, plus publish/unpublish and set featured status |
| Manager | Limited backend user | Backend login with access to content-related areas, but not full site configuration |
| Administrator | Site administrator | Backend login with access to almost all areas except Global Configuration |
| Super Users | Full administrator | Unrestricted access to everything, including Global Configuration and other users' permissions |
Why this matters Permissions inherit down the hierarchy. If you deny an action at the Public group level, every group below it inherits that denial unless a lower group explicitly sets it to Allow — and if a higher group is set to Deny, no group below can override it back to Allowed. Understand this before editing Global Configuration permissions.
Access Levels vs. User Groups: What's the Difference?
This is where most beginners get tripped up. A User Group defines who someone is (Author, Editor, Registered, and so on). An Access Level is a named bundle of one or more user groups, and it's what you actually assign to an article, module, or menu item to control who can see it.
Joomla ships with five default access levels:
- Public — visible to everyone, logged in or not.
- Guest — visible to visitors who are not logged in.
- Registered — visible only to logged-in users.
- Special — visible to Author, Editor, Publisher, Manager, Administrator, and Super Users by default.
- Super Users — visible only to the Super Users group.
You are not limited to these five. You can create your own access levels (for example, "Members Only" or "VIP Content") and assign whichever user groups should see that content.
Step 1: View and Understand the Default Access Levels
- Log in to the Joomla administrator as a Super User.
- Go to Users → Access Levels.
- You'll see the five default levels listed above. Click on any one of them to see which user groups are checked.
🖼️
[ẢNH CẦN CHỤP: Access Levels list]
Screenshot of Users → Access Levels list screen in Joomla 6 admin, showing the five default levels (Public, Guest, Registered, Special, Super Users).
Step 2: Set Global Permissions
Global Configuration permissions are the starting point that every component and item inherits from unless overridden lower down.
- Go to System → Global Configuration.
- Open the Permissions tab.
- Select a group in the left panel (for example, Author or Editor).
- For each action listed (Site Login, Admin Login, Create, Delete, Edit, Edit State, and so on), choose Allowed, Denied, or leave it as Inherited.
- Click Save.
How Allow / Deny / Inherit actually resolve
Inherited takes whatever the parent group's setting is. Allowed grants the action for this group and its children, unless a higher group already denies it. Denied always wins — once an action is denied at a parent level, no child group can override it back to Allowed.
📊
[ẢNH CẦN CHỤP: Global Configuration Permissions tab]
Screenshot of System → Global Configuration → Permissions tab, with the Author group selected on the left and its action list (Create, Delete, Edit, Edit State, etc.) visible on the right.
Step 3: Create a Custom Access Level
Use this when the five defaults don't match your needs — for example, a "Members Only" area for paying subscribers.
- Go to Users → Access Levels → New.
- Enter a name, such as "Members Only."
- Check the boxes for every user group that should be able to view content set to this level.
- Click Save & Close.
You can now select this access level on the Publishing tab of any article, on a module, or on a menu item.
Step 4: Restrict a Category to One Group Only
A common real-world need: let one Editor manage a "News" category without touching anything else on the site.
- Create the category (or open the existing one): Content → Categories.
- Open the category and go to its Permissions tab.
- Select the Editor group in the left panel.
- Set Edit and Edit State to Allowed.
- Save.
Category-level permissions override the component-level (all Articles) settings, and individual article permissions can override the category in turn — so this Editor now has rights scoped to just the News category, regardless of what the broader Articles permissions say.
🖼️
[ẢNH CẦN CHỤP: Category Permissions tab]
Screenshot of a category's edit screen with the Permissions tab open, Editor group selected, and Edit / Edit State set to Allowed.
Step 5: Create a Restricted-Purpose User Group (Advanced)
For a user who should only manage Articles and nothing else in the backend:
- Go to Users → Groups → New, name it (for example, "Article Administrator"), and set Public as its parent so it starts with zero inherited permissions.
- Go to Users → Access Levels, open Special, and check the new group so it can view backend-relevant items.
- Go to System → Global Configuration → Permissions, select the new group, and set Admin Login to Allowed.
- Go to Content → Articles → Options → Permissions, select the new group, and allow the article-related actions it needs.
- Assign a test user to this group only and confirm the backend menu shows just Content-related items.
Common Mistakes to Avoid
⚠️ Watch out for
- Setting Deny at a high-level group (like Public) and then wondering why a lower group still can't perform the action — Deny always wins, it cannot be overridden below.
- Confusing Access Levels (what content is visible) with User Groups (who the user is) when troubleshooting a "why can't this user see this" issue.
- Testing permission changes only from your own Super User account — Super Users bypass ACL restrictions, so nothing looks broken until a real test account tries it.
- Adding too many users to the Super Users group instead of building a scoped custom group for limited backend access.
- Forgetting that Guest and Public behave differently for menu/module visibility even though they look similar for content access.
Frequently Asked Questions
What's the difference between User Groups and Access Levels in Joomla 6?
A User Group defines who a user is, like Author or Editor. An Access Level is a named bundle of one or more user groups that you assign to content to control who can view it. Groups answer "who," levels answer "who can see this."
How many default user groups does Joomla 6 come with?
Nine: Public, Guest, Registered, Author, Editor, Publisher, Manager, Administrator, and Super Users, arranged in a parent-child hierarchy.
Can a Denied permission be overridden at a lower level?
No. If a parent group or a higher-level setting is Denied, that denial always applies to child groups and lower levels — it cannot be changed back to Allowed further down the hierarchy.
Why can't a Registered user see an article set to Special access?
By default, Special access only includes Author, Editor, Publisher, Manager, Administrator, and Super Users — Registered is not part of that group unless you edit the Special access level to add it.
Has the core ACL model changed between Joomla 5 and Joomla 6?
The underlying model — User Groups, Access Levels, and cascading Permissions — is the same system used since Joomla 3.x. [CẦN BẠN XÁC NHẬN: nếu Joomla 6.1 có thay đổi UI/tính năng ACL cụ thể nào khác ngoài Visual Workflow Editor, bổ sung ở đây]
How do I test permission changes safely before going live?
Create one test user per group you're changing, log in as that user in a separate browser or private window, and verify what they can see and do — never rely on testing from your own Super User account.
✅ Last verified on Joomla 6.1 — August 2026.

Thanh Le
Joomla Specialist & Technical Writer
Thanh Le is a Joomla expert and technical writer at Jlvextension.com, known for creating in-depth tutorials, extension reviews, and optimization guides. His work focuses on helping developers and webs