How to Override a Module Layout in Joomla 6 (Update-Safe Method)
Beginner
⏱ 5 min
⚡ Quick Answer
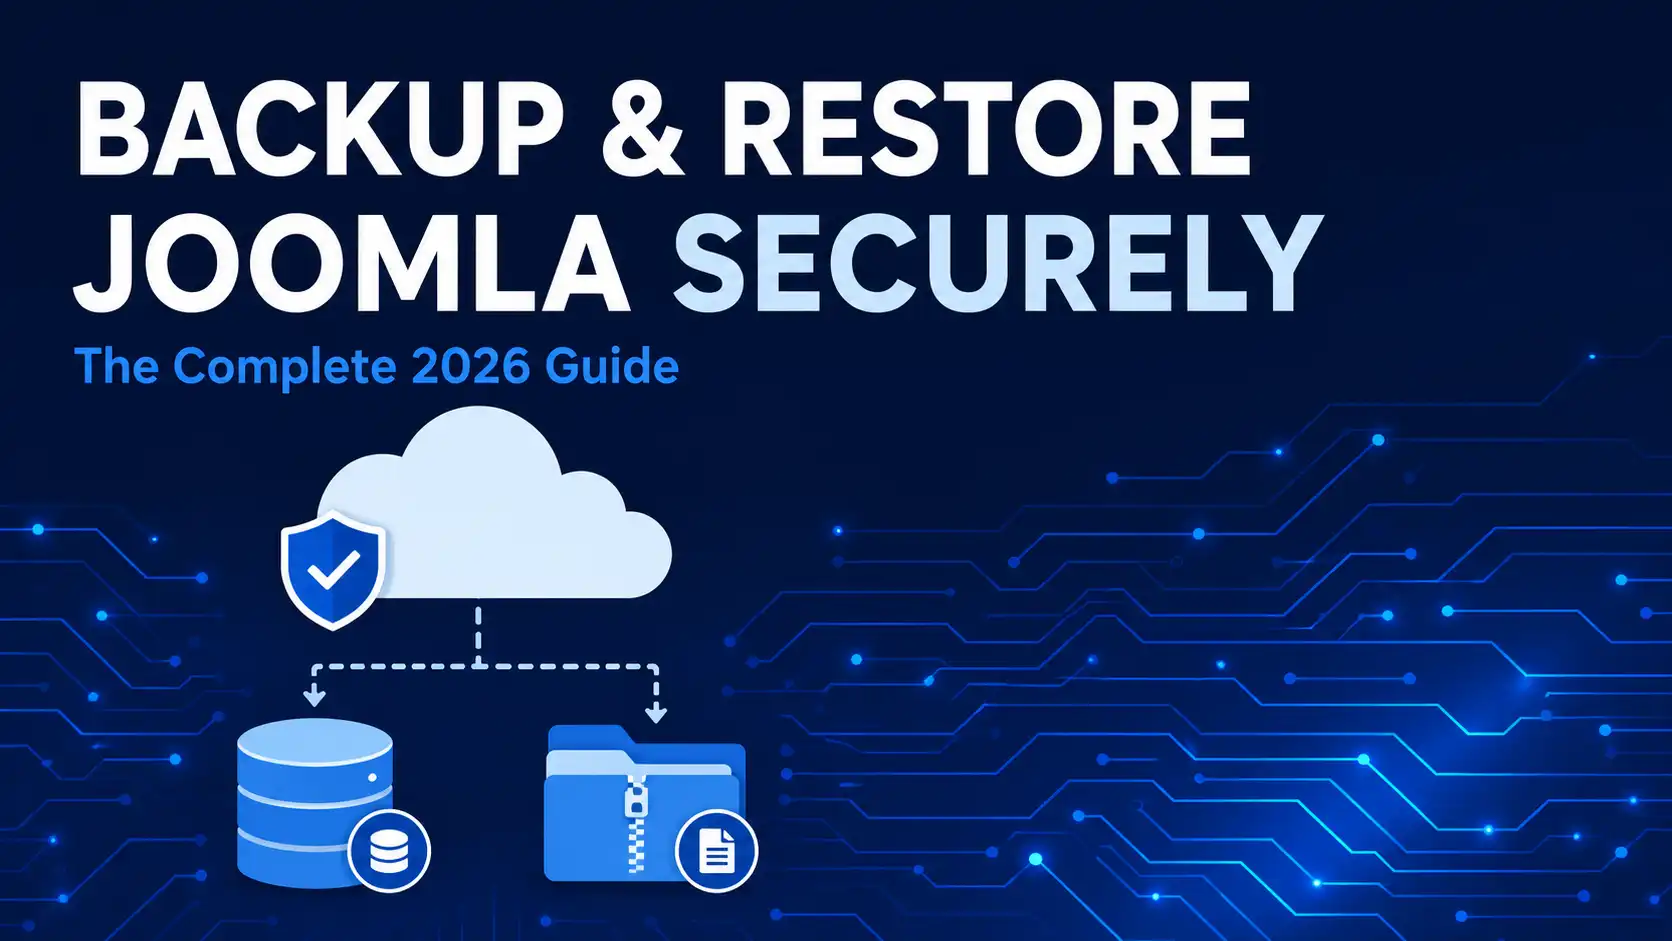
Joomla has no built-in backup system, so the safest method is a dedicated extension such as Akeeba Backup: create a full site-plus-database archive, copy it off-server to cloud or remote storage, automate it on a schedule, and periodically test a restore with Kickstart before you actually need one. A recent, tested backup is what turns a hack or a failed update into a 10-minute fix instead of a rebuild from scratch.
| 📋 What you'll need | Details |
|---|---|
| Joomla admin access | Super User account on the backend (/administrator) |
| FTP/SFTP or File Manager access | Provided by your hosting control panel (cPanel, Plesk, etc.) |
| Remote storage location | Cloud drive, S3-compatible bucket, or a second FTP/SFTP server — needed for off-server copies |
| Free disk quota | Roughly the size of your site files + database; more if you keep several archives |
| Time | 15–20 minutes for initial setup, a few minutes for each backup afterward |
This guide covers Joomla 6.1.x and the 5.4.x LTS branch, using Akeeba Backup (the most widely used Joomla backup extension) as the primary tool, plus the manual fallback method and the restore workflow with Kickstart. It applies whether you're backing up ahead of a core update, an extension install, or simply running routine protection for a live site.
Joomla does not ship with a native, one-click backup feature. That gap is one of the more common reasons sites lose data — not because the site was insecure, but because there was no recent, working backup to fall back on after a bad update, a compromised extension, or a hosting-side failure. A backup plan closes that gap by giving you a known-good restore point at all times.
There are three practical routes for backing up a Joomla site. Pick based on how much manual work you're willing to do versus how much automation you want.
| Method | How it works | Automation | Best for |
|---|---|---|---|
| Manual (FTP + phpMyAdmin) | Download all site files via FTP/SFTP, export the database via phpMyAdmin or mysqldump |
None — fully manual | One-off backups, very small sites, learning how Joomla's file/DB structure works |
| Akeeba Backup | Joomla extension that packages files + database + a recovery script into a single archive (JPA, ZIP, or encrypted JPS) | CRON/CLI scheduling, pseudo-CRON URLs | Most Joomla sites — the de facto standard, free Core version covers most needs |
| Third-party backup/monitoring services | External services that connect to your site to pull scheduled backups and monitor uptime | Built-in scheduling and alerts | Agencies managing multiple sites who want backups stored fully outside the hosting account |
💬 Why this guide focuses on Akeeba Backup
Akeeba Backup is free (GPL), actively maintained, and directly integrated into the Joomla extension ecosystem — it's the tool referenced in Joomla's own documentation and community guides. The steps below use it as the primary workflow, with the manual method as a fallback if you ever need a backup without installing anything.
Akeeba Backup is available as a free Core edition and a paid Professional edition (adds remote storage engines, encrypted JPS archives, and multi-part archive support) from the Joomla Extensions Directory or directly from Akeeba's site. As of mid-2026 it supports Joomla 3 through 6 and PHP 7.4 through 8.5, and can back up both MySQL/MariaDB and PostgreSQL databases.
⚠️ Don't stop at "backup created"
A backup that only exists on the same server as your live site is not a real safety net — if the server is compromised or the disk fails, the backup goes down with it. Step 4 covers sending it somewhere else.
Akeeba Backup can post-process each archive by uploading it automatically to remote storage right after the backup finishes. Supported destinations include Amazon S3 (and S3-compatible services), Dropbox, Google Drive, OneDrive, Box, Backblaze B2, and remote FTP/SFTP servers.
Manual backups only protect you if you remember to run them. Akeeba Backup supports scheduling through your host's CRON system or a command-line script.
A backup you have never restored is unverified. Testing on a staging copy or local environment is the single step most site owners skip, and the one that matters most when a real incident happens.
Akeeba's restore process uses two components: Kickstart, a small standalone PHP script that extracts the archive, and ANGIE (Akeeba's automated restoration engine), which walks through reconfiguring the database connection and site settings. Together they let you restore without a fresh Joomla installation first.
kickstart.php and your backup archive (.jpa/.zip/.jps) to the target site's root folder via FTP/SFTP.https://yourdomain.com/kickstart.php in a browser.⚠️ Required security step
After a successful restore, delete kickstart.php and the backup archive file from the server. Leaving either one publicly accessible lets anyone who finds the URL download your entire site and database — files, credentials, and all.
⚠️ Mistakes that undermine backups
kickstart.php or the archive file on the server after restoring✅ What a solid setup looks like
No. Joomla's core does not include a native backup system, which is why a dedicated extension like Akeeba Backup or the manual FTP/database-export method is necessary.
Daily for sites with frequent content, orders, or user activity; weekly is usually enough for mostly static sites. Always take an extra manual backup right before a core or extension update.
Core (free) covers full site + database backups, local storage, and CLI/CRON scheduling. Professional adds more remote storage engines, encrypted JPS archives, multi-part archive splitting, and priority support.
No. If the server fails or is compromised, an on-server-only backup can be lost or corrupted along with the live site. At least one copy should live in separate remote storage.
Yes. Kickstart and ANGIE are designed for this — you can restore the same archive to a new database, domain, or subfolder, which is also how Akeeba Backup is commonly used for site migrations.
Delete kickstart.php and the backup archive from the server, then verify the front end, admin login, and any recent content or orders are intact.
Once your backup and restore process is in place, the next priority is locking down the admin area itself — see our guide on how to protect the Joomla admin area.
✅ Last verified on Joomla 6.1.2 / 5.4.7, Akeeba Backup 10.3.6 — July 2026

Thanh Le is a Joomla expert and technical writer at Jlvextension.com, known for creating in-depth tutorials, extension reviews, and optimization guides. His work focuses on helping developers and webs