Tutorial
How to install Joomla 6 on Windows PC
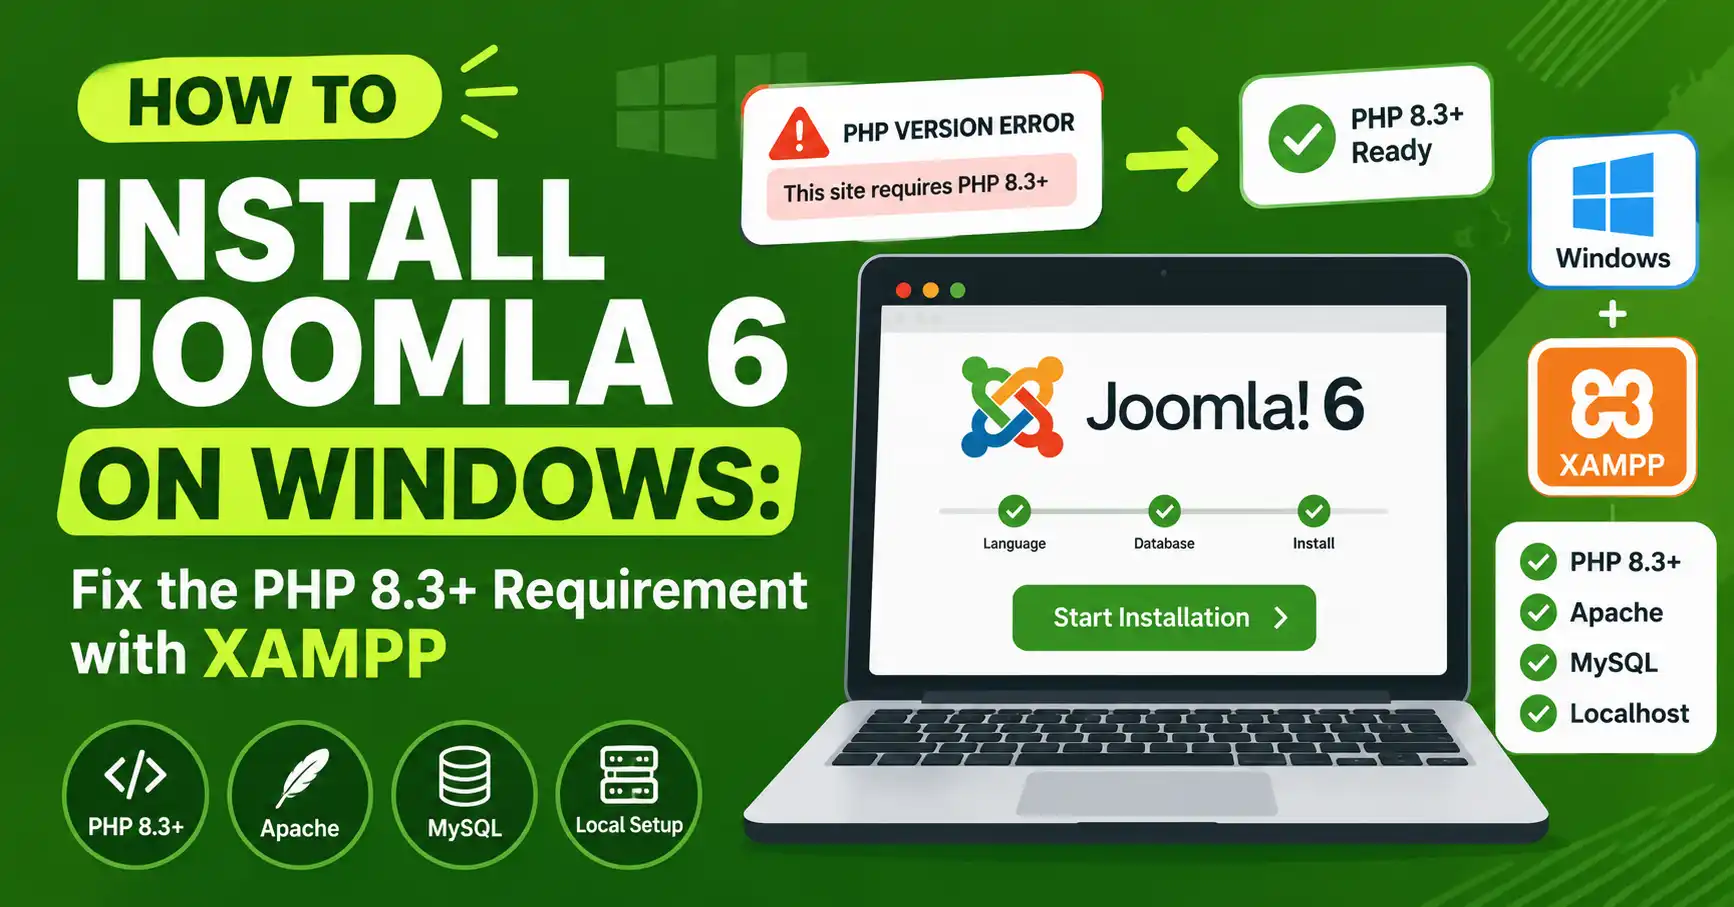
Joomla 6 needs PHP 8.3 or newer, but the standard XAMPP installer from Apache Friends still ships PHP 8.2.12 by default — so a straight XAMPP install will fail the requirements check. This guide walks through installing XAMPP, upgrading its PHP version, creating the database, and running the Joomla 6.1.2 installer on Windows from start to finish.
⚡ Quick Answer
To install Joomla 6 on Windows: install XAMPP, upgrade its bundled PHP to version 8.3 or higher (XAMPP's default installer only includes PHP 8.2.12), create a database in phpMyAdmin, download the Joomla 6.1.2 full package from joomla.org, extract it into htdocs, and complete the setup wizard at localhost/your-folder.
| What you'll need | Details |
|---|---|
| Operating system | Windows 10 (64-bit) or newer |
| Local server | XAMPP (bundles Apache 2.4.58 + MariaDB 10.4.32 + PHP 8.2.12 by default) |
| PHP version | 8.3.0 minimum, PHP 8.4 recommended by the Joomla project — must be upgraded manually inside XAMPP |
| Database | MySQL 8.0.13+ or MariaDB 10.4+ (XAMPP's bundled MariaDB already meets this) |
| Joomla package | Joomla 6.1.2 full package (.zip), the current stable release as of July 2026 |
| Time needed | Roughly 20–30 minutes for a first-time local install |
| Disk space | About 300 MB free |
⚠️ Before you start
Joomla 6 raised its minimum PHP requirement to 8.3.0. If you install a fresh copy of XAMPP today, it will bundle PHP 8.2.12 — one minor version too old. Skipping the PHP upgrade step below is the single most common reason this install fails.
Step 1: Confirm your Windows PC meets the requirements
Before downloading anything, check that your machine is running 64-bit Windows 10 or later and has at least 300 MB of free disk space. Joomla 6's core technical requirements are:
- PHP: 8.3.0 minimum, 8.4 recommended
- Database: MySQL 8.0.13+ or MariaDB 10.4+
- Web server: Apache 2.4+ (with
mod_rewriteenabled if you want SEO-friendly URLs later) - Required PHP extensions: json, simplexml, dom, zlib, gd, and either mysqlnd or pdo_mysql
🖼️
[SCREENSHOT NEEDED]
Hero image: a Windows 11 desktop showing the XAMPP Control Panel and the Joomla installer welcome screen open side by side.
Step 2: Download and install XAMPP
Go to the official Apache Friends website and download the XAMPP installer for Windows. Run the installer and accept the default components (Apache, MySQL/MariaDB, PHP, phpMyAdmin) unless you have a specific reason to deselect one. Install to the default C:\xampp path — changing it is possible, but the default keeps every later step in this guide accurate.
💡 Note
Antivirus software or Windows Defender may flag the XAMPP installer or ask for a firewall exception during setup. This is expected for local server software — allow it to continue.
Step 3: Upgrade XAMPP's PHP version to 8.3 or higher
This is the step most tutorials skip, and the reason a fresh XAMPP install won't pass Joomla 6's setup check. XAMPP's official Windows installer currently bundles PHP 8.2.12, which is below Joomla 6's minimum of PHP 8.3.0. You have two ways to fix this:
- Upgrade PHP manually inside your existing XAMPP install — download the matching Thread Safe x64 PHP 8.3 or 8.4 ZIP build, swap it into
C:\xampp\php, and update the Apache PHP module path. We cover every sub-step, including common DLL and Visual C++ errors, in our dedicated guide: How to Upgrade XAMPP to PHP 8.5 on Windows. - Use a local server that ships newer PHP out of the box — Laragon, for example, makes switching PHP versions a one-click affair. See How to Install Laragon on Windows PC if you'd rather avoid the manual PHP swap entirely.
Once upgraded, restart Apache and confirm the version by browsing to localhost/dashboard/phpinfo.php or creating a one-line <?php phpinfo(); ?> test file in htdocs.
🖼️
[SCREENSHOT NEEDED]
phpinfo() page in a browser with the "PHP Version" line circled in red, showing 8.3.x or higher after the upgrade.
Step 4: Start Apache and MySQL from the XAMPP Control Panel
Open the XAMPP Control Panel (search for it in the Windows Start menu) and click Start next to both Apache and MySQL. Both rows should turn green within a few seconds. If Apache won't start, the most common cause on Windows is port 80 already being used by Skype, IIS, or another local server — stop that service or change Apache's port in httpd.conf.
🖼️
[SCREENSHOT NEEDED]
XAMPP Control Panel with the Apache and MySQL rows both showing a green "Running" status and highlighted Stop buttons.
Step 5: Create a database for Joomla in phpMyAdmin
Open localhost/phpmyadmin in your browser. Click New in the left sidebar, give the database a clear name (for example joomla6_local), set the collation to utf8mb4_unicode_ci, and click Create. You don't need to create any tables manually — the Joomla installer will do that automatically in a later step.
📊
[SCREENSHOT NEEDED]
phpMyAdmin "Create database" screen with the database name field filled in and the utf8mb4_unicode_ci collation selected.
Step 6: Download Joomla 6 and extract it into htdocs
Go to the official Joomla downloads page and download the full package .zip for the current stable release (Joomla 6.1.2 at the time of writing). Extract the archive, then move the extracted contents into a new folder inside C:\xampp\htdocs — for example C:\xampp\htdocs\myjoomlasite. Extracting directly into htdocs without a subfolder will install Joomla at the web root instead, which also works but leaves no room for other local projects.
Step 7: Run the Joomla installation wizard
In your browser, go to localhost/myjoomlasite (replace with your folder name). The Joomla setup wizard will load and walk through three main screens:
- Main Configuration: site name, site description, and the admin account you'll use to log in — pick a strong, non-default admin username and password here.
- Database Configuration: select MySQLi (or MySQL PDO), enter
localhostas the host,rootas the username (leave the password blank unless you set one in phpMyAdmin), and the database name you created in Step 5. - Overview: review your settings, then click Install.
🖼️
[SCREENSHOT NEEDED]
Joomla installer's Main Configuration screen with the site name and admin account fields visible.
🖼️
[SCREENSHOT NEEDED]
Joomla installer's Database Configuration screen with database type, host, username, and database name fields filled in.
Step 8: Remove the installation folder and log in
Once installation finishes, Joomla shows a success screen with a Remove Installation Folder button — click it. Joomla will refuse to serve the site's front end until this folder is deleted, as a security measure against re-running the installer on a live site. After that, log in at localhost/myjoomlasite/administrator with the admin account you created in Step 7.
🖼️
[SCREENSHOT NEEDED]
Joomla installer success screen with the "Remove Installation Folder" button highlighted.
❓ Frequently Asked Questions
Does Joomla 6 work on a fresh, default XAMPP install?
No. Default XAMPP installers currently ship PHP 8.2.12, but Joomla 6 requires PHP 8.3.0 or higher. You'll see a requirements warning during setup unless you upgrade PHP first.
What is the minimum PHP version for Joomla 6?
PHP 8.3.0 is the absolute minimum. The Joomla project officially recommends PHP 8.4 for better performance and longer security support.
Do I need MySQL specifically, or does MariaDB work too?
Either works. Joomla 6 supports MySQL 8.0.13+ and MariaDB 10.4+. XAMPP's bundled MariaDB 10.4.32 already meets this requirement, so no database upgrade is needed.
Should I install Joomla 6.0 or the latest 6.1.x patch?
Always use the latest patch release. Joomla 6.1.2 (July 2026) includes 12 security fixes over 6.0, so a fresh install should always start from the newest available package.
Can I use Laragon instead of XAMPP to install Joomla 6?
Yes. Laragon makes switching PHP versions easier than manually swapping files in XAMPP, which can be a simpler path if you don't want to touch XAMPP's PHP folder directly.
What happens if I forget to delete the installation folder?
Joomla blocks the site's front end and shows a warning until the /installation folder is removed. This is intentional — it prevents anyone from re-running the installer on a finished site.
🧯 Common Mistakes to Avoid
Installing on default XAMPP PHP: the #1 cause of failed Joomla 6 installs — always upgrade PHP to 8.3+ first.
Port conflicts: Skype, IIS, or another local server already using port 80 or 3306 will stop Apache or MySQL from starting.
Reusing a database from another local install: always create a fresh, uniquely named database to avoid table prefix clashes.
Leaving the installation folder in place: Joomla will not serve the front end until it's removed.
Using a blank root MySQL password beyond local testing: fine for localhost, never acceptable once the site goes live.
➡️ What's Next
- How to Upgrade XAMPP to PHP 8.5 on Windows — the full walkthrough for Step 3 above.
- How to Install Laragon on Windows PC — an alternative local server with easier PHP version switching.
- Joomla vs Drupal: Performance and Usability Compared — useful once your local site is running and you're deciding what to build on it.
✅ Last verified on Joomla 6.1.2 — July 2026

Thanh Le
Joomla Specialist & Technical Writer
Thanh Le is a Joomla expert and technical writer at Jlvextension.com, known for creating in-depth tutorials, extension reviews, and optimization guides. His work focuses on helping developers and webs